
Today she wants to talk about how we take doll fashion pictures for those of you who are wondering what we do. We are by no means professional in our techniques, not even knowledgeable or smart about it. We do the everyman's point and click approach. So we are just talking about amateur doll clothing photography here - nothing arty or professional.
First off, we had one camera and then we got another one. Both cameras are direct from the store items -- we haven't added any fancy flash thingys or new lenses or filters. From our experience the more expensive camera (Rebel) takes better pictures indoors. And most of our pics are taken inside. But they are both good cameras.
You can see the difference in our photos between these two cameras. The top image was taken with our Canon Powershot G7 while the bottom was taken with our Canon Rebel EOS T1i. In front of the same door.
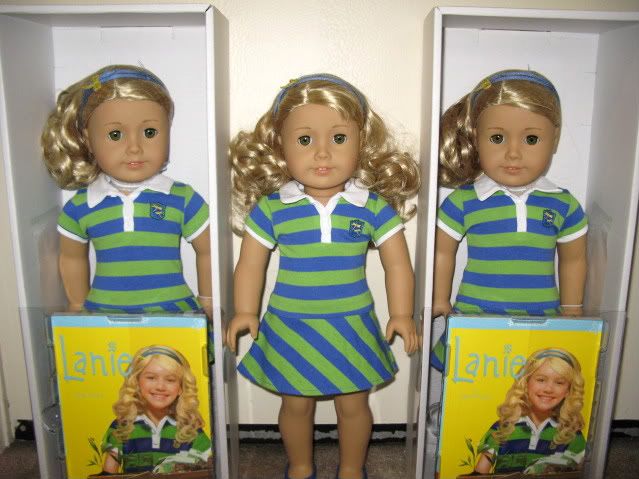
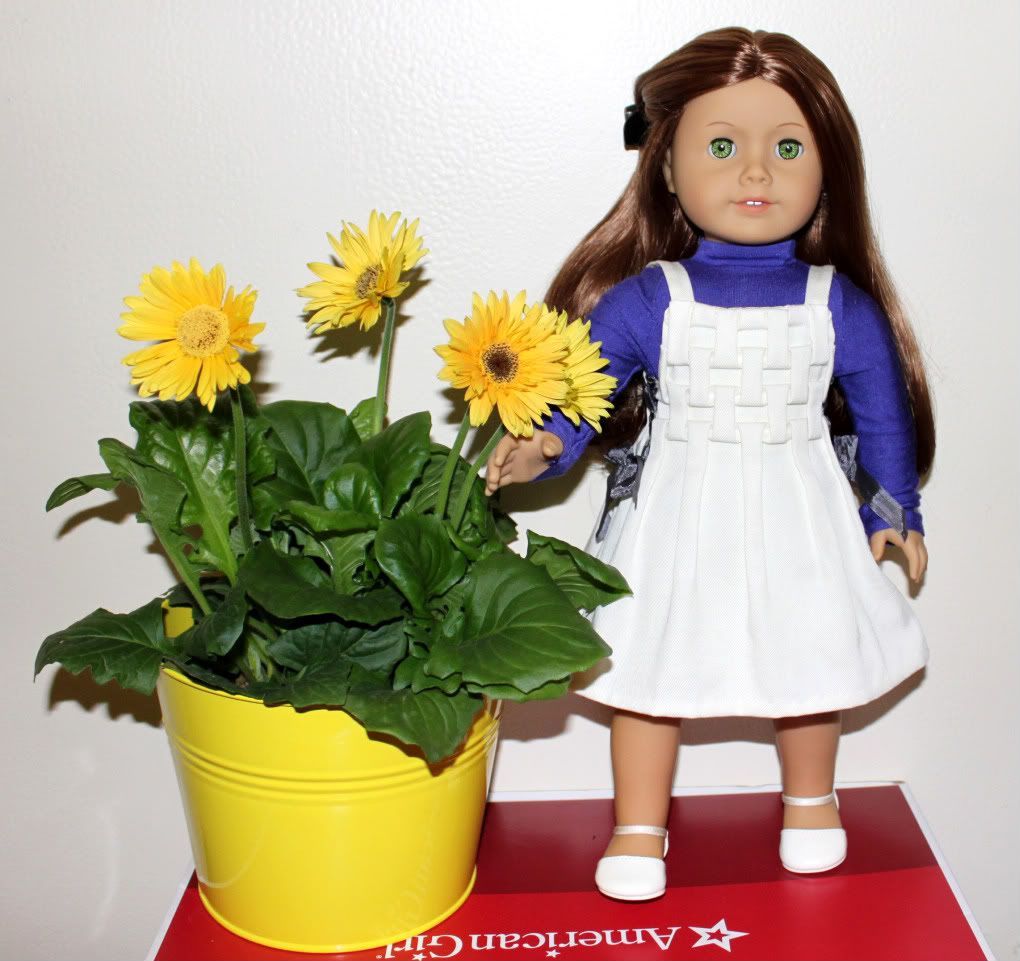
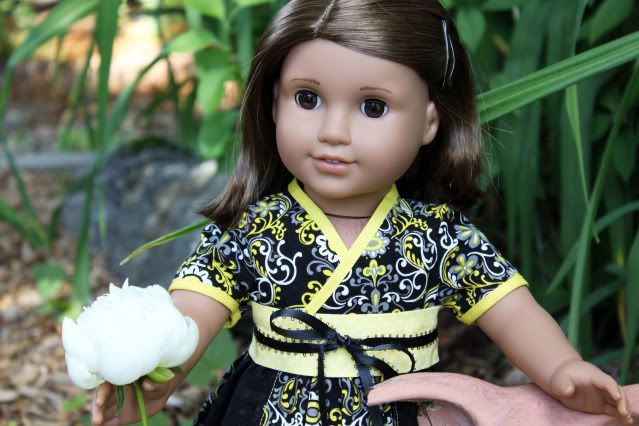
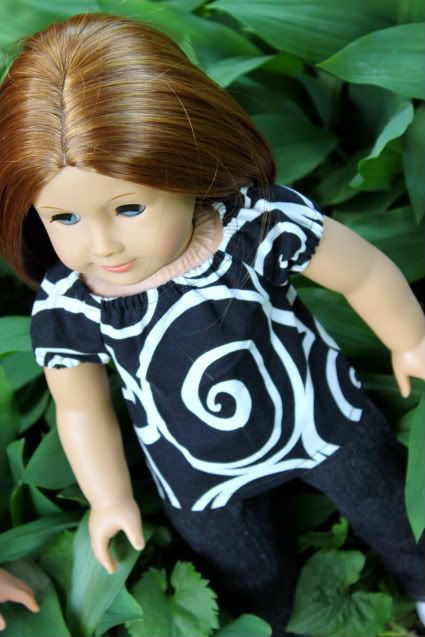
Second lesson is, if you can take your photos outside on a semi-cloudy, overcast day or in the light shade - do that. Outside lighting will always be better for your doll pics than indoor lighting and flash. Unless it is really harsh mid-day light that casts deep shadows. Anyway, point is - go outside, take pics at different times of the day and experiment. Use nice features of your yard or nearby park -- tree trunks, rocks, branches, flowers, aged stone or brick walls, etc.
Top 2 images below were obviously taken outside, bottom is obviously inside -- with the same (Rebel) camera and all include Karen for comparison purposes. Even if you don't have a super-expensive camera your pictures tend to look a lot better when taken outdoors.
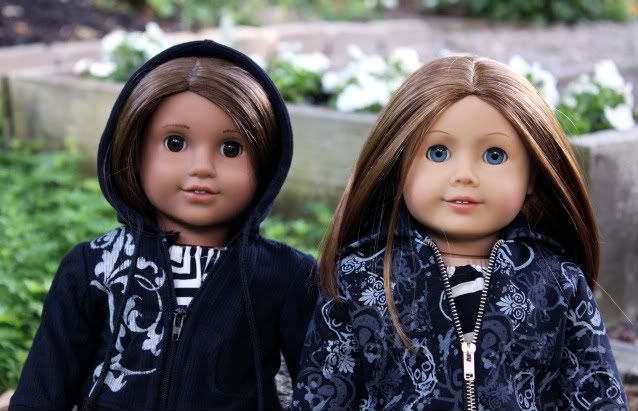
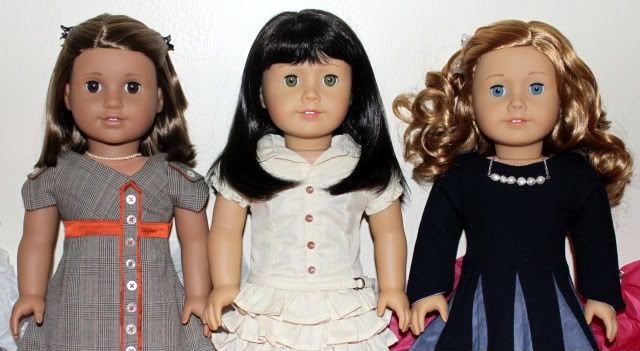
Third point, we realize not everyone can go outside to take pics. We usually don't ourselves because it is a "production" in the words of Penny. So what we do is we find a simple door to position ourselves in front of, a wall would work too -- but sometimes the baseboards are overwhelmingly obtrusive in pics. Then we take an AG box (we didn't always do this) and stand the doll(s) on the box. We use Rebecca's sideboard box for this purpose.
Then we make sure all the lights are on in the doll room and take a lot of pictures with flash. We take them in the normal setting as well as the "Close-up" setting. Several shots of each angle and from varying distances. Out of every 3-5 photos we take, one is good.
Also we use Auto-Focus and we depress the "take the photo" button halfway, let it focus for a second, and then finish pressing it. Many cameras don't auto-focus unless you do that "push the button down halfway first" thing.
In addition, we try to have the doll looking into the camera as much as possible, even from arty angles. Not "zombie eyes" as we call it (when you are looking slightly upward into the dolls eyes and they look shocked to see you). Here are various photos of Maple (

You can, of course, do arty shots without your doll looking into the camera as well.... again, we just avoid "zombie eyes".....
Professional photographers tend to use a lot of lamps and diffused flash. We don't have the time/energy to set up all that stuff every time we take pics. We do have a "studio" though for large scenes with furniture. You can see examples of those types of pics below.
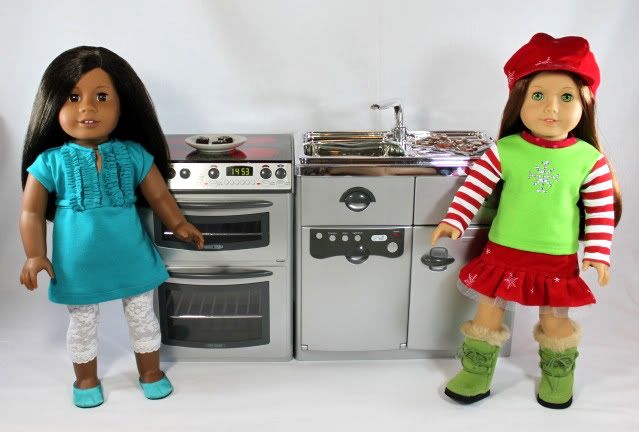
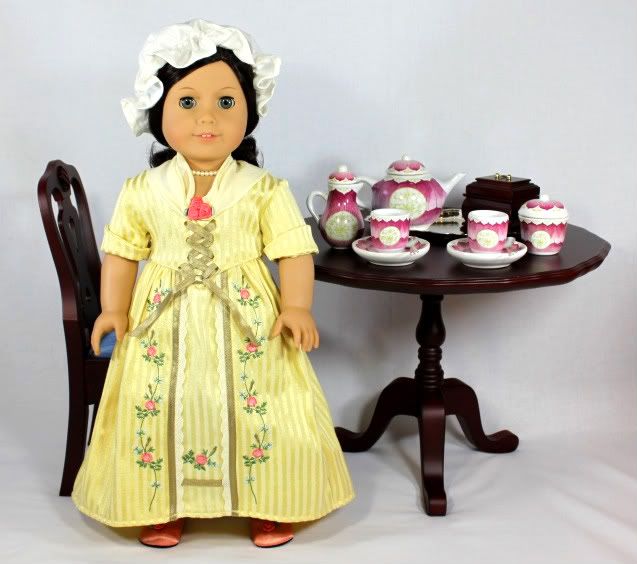
We prefer white backgrounds ourselves (for doors and fabric). It is simple and clean-looking. When you have a white outfit though, you may need to find a darker or colored background to use.
Our fourth lesson is crop and fix your photos before you post/use them. Even if you don't have a super camera or an at-home photography studio or a photo-friendly-backyard to photograph in -- you can always improve your photos after you've taken them.
We use Photoshop on our computer (costs money for the program) or Photobucket online (free) to fix every single one of our pictures. We aren't ashamed. We like them better after we have fixed them. Top photo is an image that we have not auto-fixed with Photobucket. Bottom is auto-fixed. After we upload each photo we click on edit, autofix. And save it. Waalaa. A brighter, bolder photo.
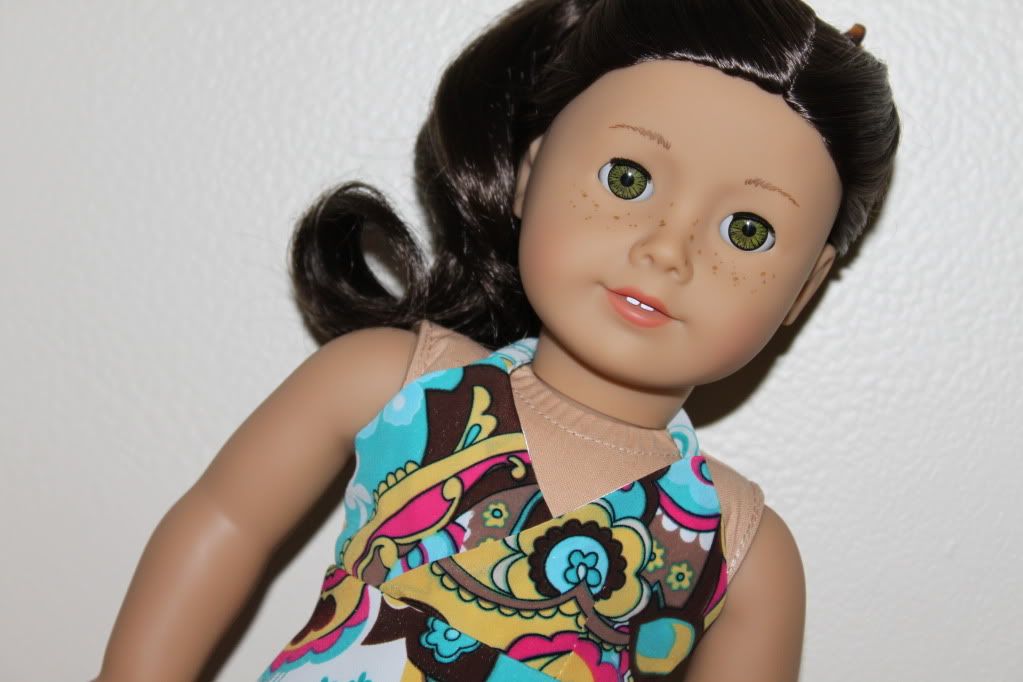
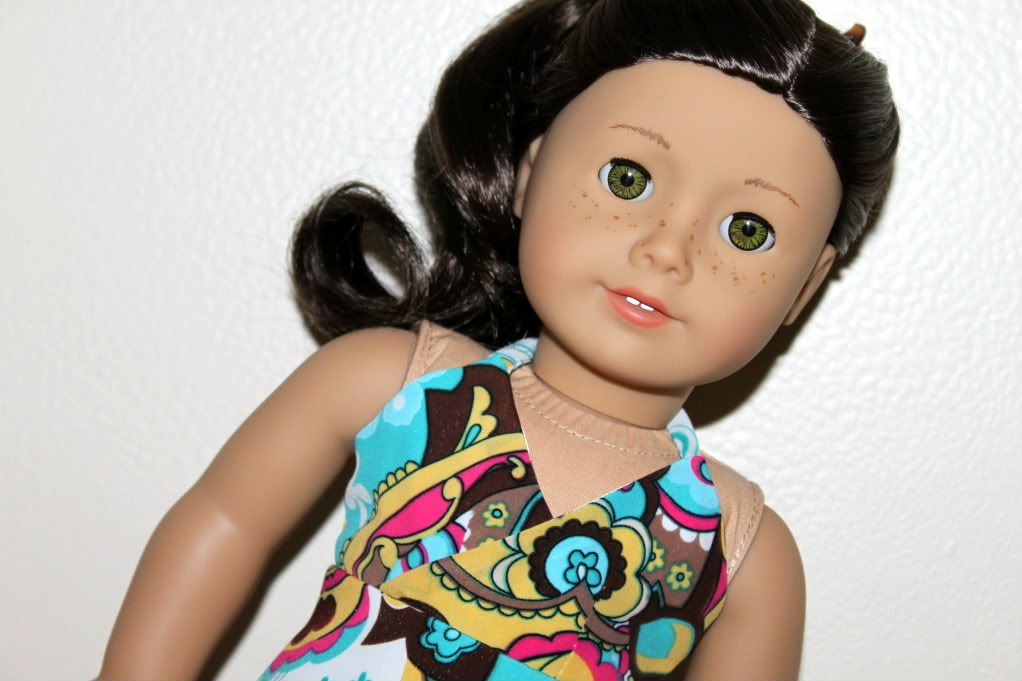
Crop, crop, crop. We love cropping. Sometimes your photo is fine as is, sometimes it's not. Here is the photo of Maple we used above un-cropped and then cropped. See the difference in presentation? Isn't the second one so much more appealing? Who really needs to see our chipped paint on the door or the massive hinge? No one. There is no need for such an expansive background. We can barely even see the details of the doll in the first shot.
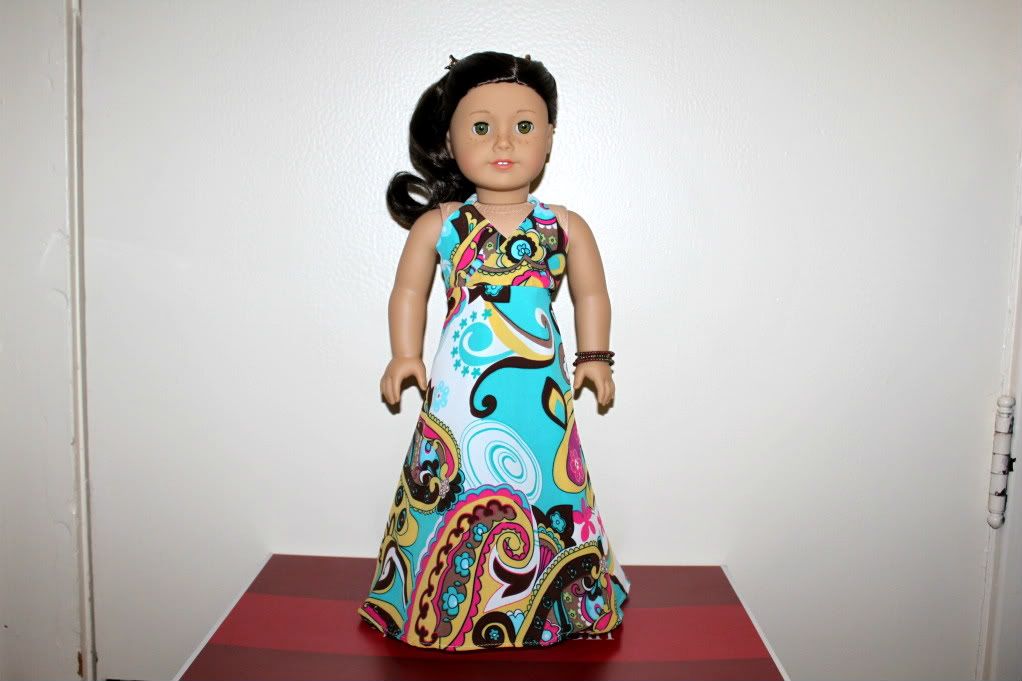
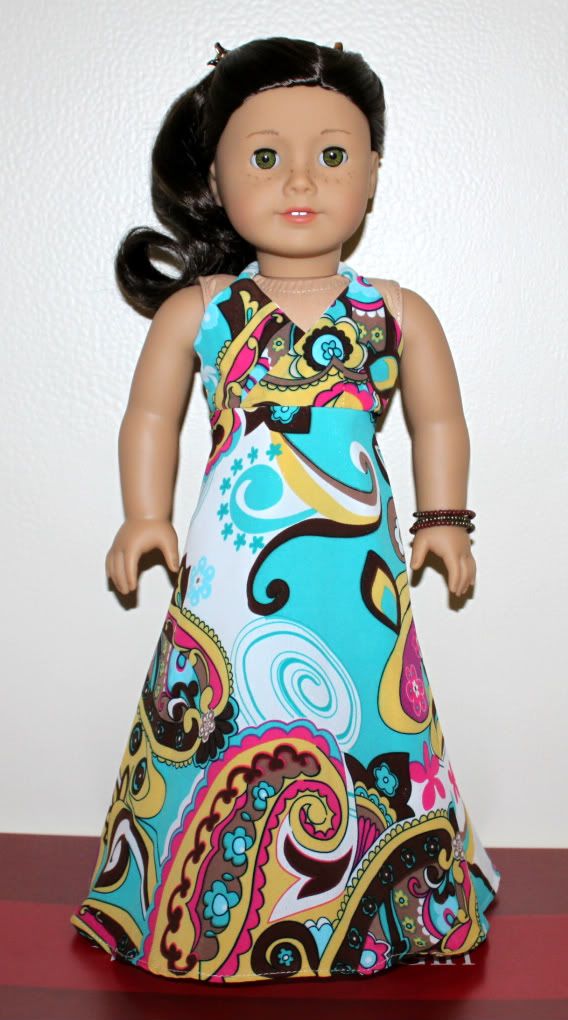
So the same can be said of cluttered backgrounds - crop, crop, crop. Simplify your picture. Focus on the doll and her outfit.
Okay, that's all we have to blather on about today. In summary, our advice: get a decent camera (doesn't have to be super-expensive but even just newer is better than an older model), take photos outside, if you can't go outside be methodical about the background, lighting and posing of your inside photos, focus your pictures (avoid the blurries!), and auto-fix and crop your photos. :-)
Thanks for reading this long post! ---- If you have any questions, let us know!

