
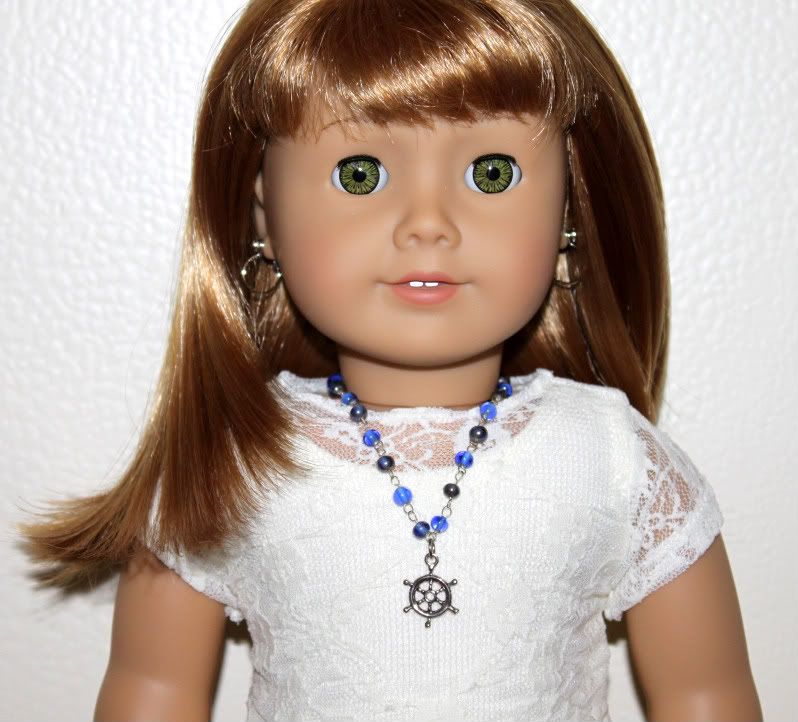
First we have Jocelyn modeling the ship's wheel necklace that we created in the last doll jewelry post. She is wearing an all-ivory outfit compiled from the Liberty Jane Fall 2010 Line: "Malibu Libby: Zuma Betty" pants and lace over-shirt, and the tank top from "Outback Libby: Pine Gap." The navy ribbon on her pants is Jocelyn's "Fashionable Ode to Punky Brewster" -- a colorful connection to her necklace and shoes.

Then we have pictures of a half-de-constructed keychain. It is dedicated to all things feline and was found in a normal trinket shop while on vacation. You may want to think about the keychains in your life. Gifts from friends that you don't use? Things that were too heavy when you put your keys on them? Something that was replaced by a newer, flashier bauble? Perhaps there are little charms to be found on them too!
This is what it looked liked before we de-constructed it.
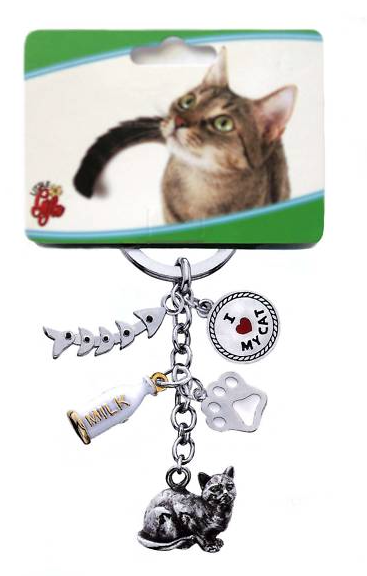
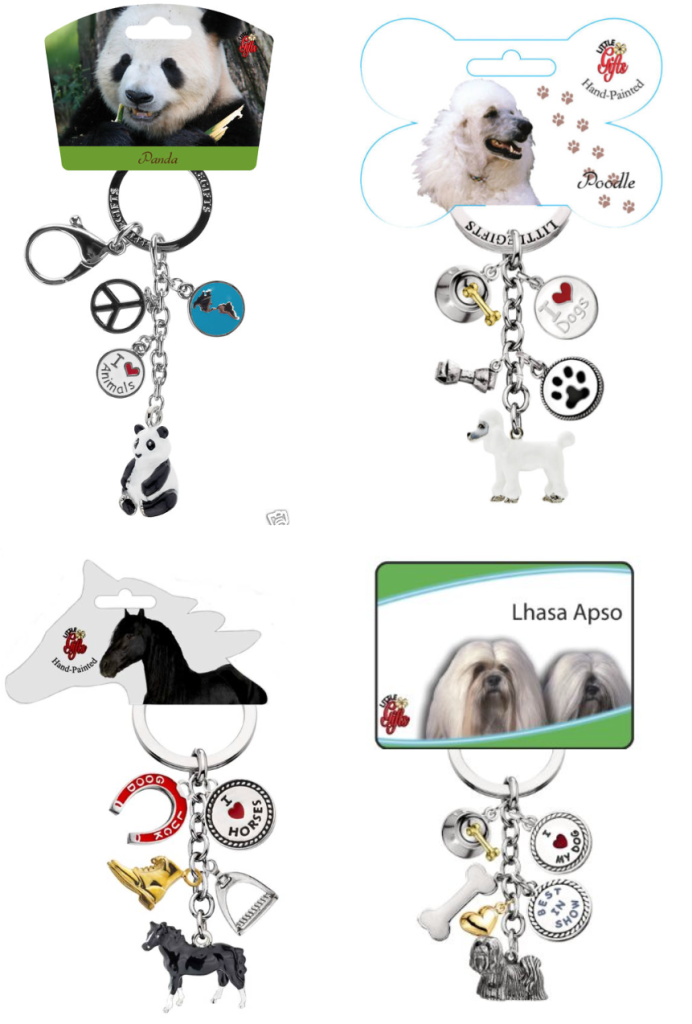
So this Little Gifts wholesale brand "I love cats" keychain can be found on online for $10-14. We don't think we spent that much on it though in the store. There are also ones out there for "I love dogs" as well - a whole line of them with specific breeds. And ones for birds, horses, and endangered species too. Just FYI.
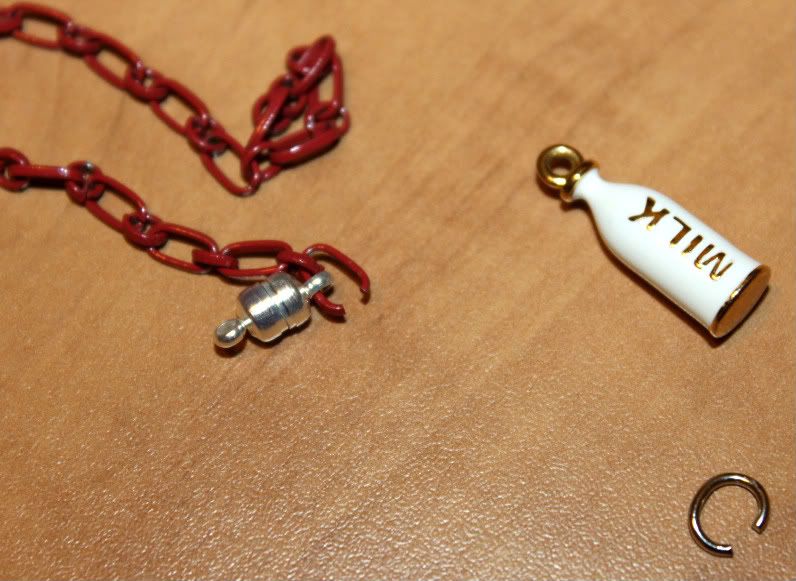
So we took off the milk bottle and the fish skeleton to use with the colored chains we purchased at JoAnn's. Being a keychain it was a bit more difficult to open the links to get the charm off, but we managed it with the pliers.
We decided to use the red chain with the milk bottle. Here are some shots of our supplies for this necklace. We used the silver link from the long shiny chain to link the milk bottle to the red chain.
And just like the other necklace tutorials we have shown you, we closed the piece of red chain onto either side of a magnetic clasp, and then linked the charm to the chain at its mid-point.
We figure by now we don't have to go step-by-step, since you can see the specific process in the previous 2 parts of this series. Stay tuned for the next doll jewelry post when we will show you the finished milk bottle and fish skeleton necklaces!
No comments:
Post a Comment