
Interjected reminder: Today is the last day to send in your Activity Three entry for the Doll Photo Contest. Please email them to nora.demington@gmail.com before tomorrow! Thanks!
So today's post is ye-old-fashioned -- like back in the day when we didn't have slideshows and videos. Just words and pics. I think that is all this computer can handle. (She typed while weeping.) In other words, this is going to be a long post. Even though it is only Part One....
We had a suggestion from a reader to do some "tutorials." So we thought (since we can't sew) that we would try making doll jewelry and sort of chronicle the project on zee blog. We have a ton of photos, so it will require a whole set of posts (which probably won't come one right after the other due to our computer issues). But we'll label them all "Doll Jewelry" so you can find the whole set anytime you want.
We took lots of photos of jewelry we already have in our collection that came with outfits we have purchased. So we'll discuss those further down the road --- specifically their materials and how they are constructed.
For now we'll start where you usually start with crafty projects: a trip to Joann's Fabrics. FYI: It was expensive. Having crafty fun with doll jewelry can cost some dough (if you do it the way we did, haha). Honestly, we recommend starting smaller than we did and getting other items as time goes on, just to spread out the cost. But since this was for a "tutorial" it is helpful to have a lot of supplies at hand.
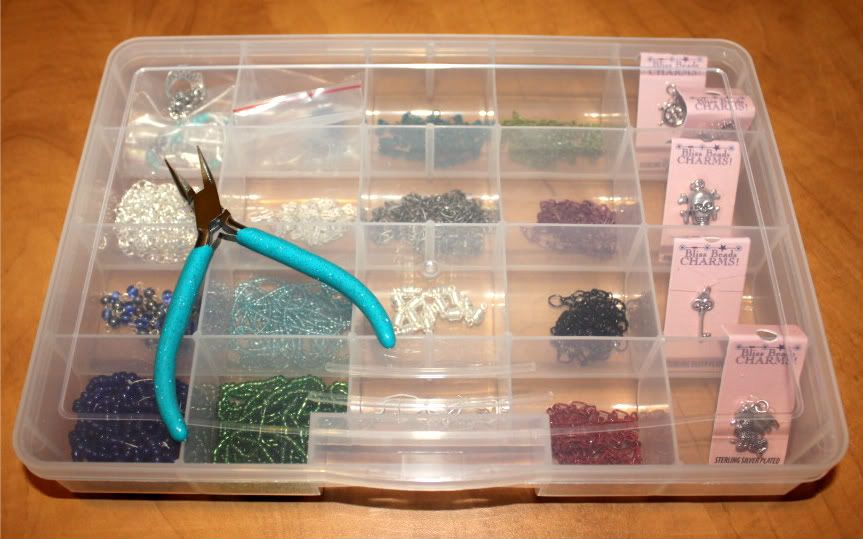
The first item we bought was this "Deluxe Organizer" from Darice that has 20 little compartments. It cost $3.99. They are stackable if you get more than one. They are useful for holding your supplies, and after you are done with your projects, they are also super-useful for holding your doll jewelry. It helps keeps things separate, so they don't get tangled and your items are easy to find.
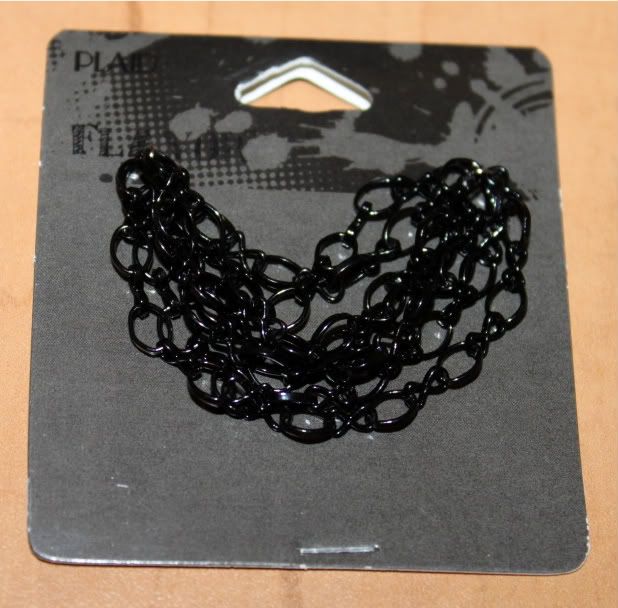
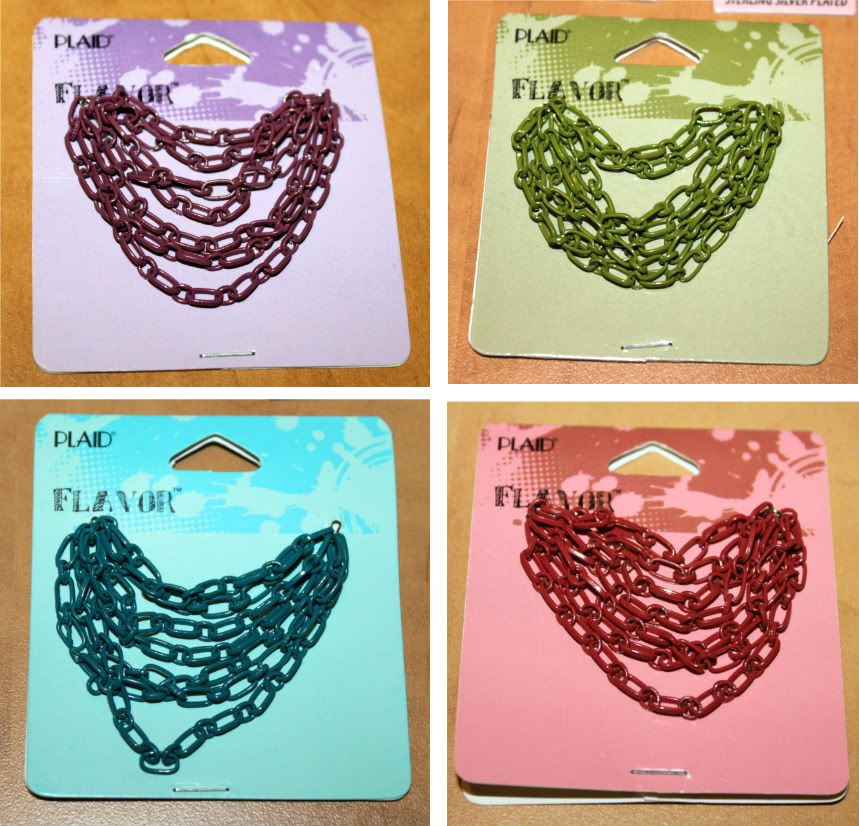
Moving on, when making chain jewelry one does need chains. Joann's had so many types, so many. And many of them are a good size for dollies. We were instantly attracted to the colored chains called the "Flavor" line from Plaid. These were $3.99 each. Expensive indeed when you add it all up, but it is nice to know that you can make a lot more doll jewelry for this $$ than you could make human-sized necklaces.
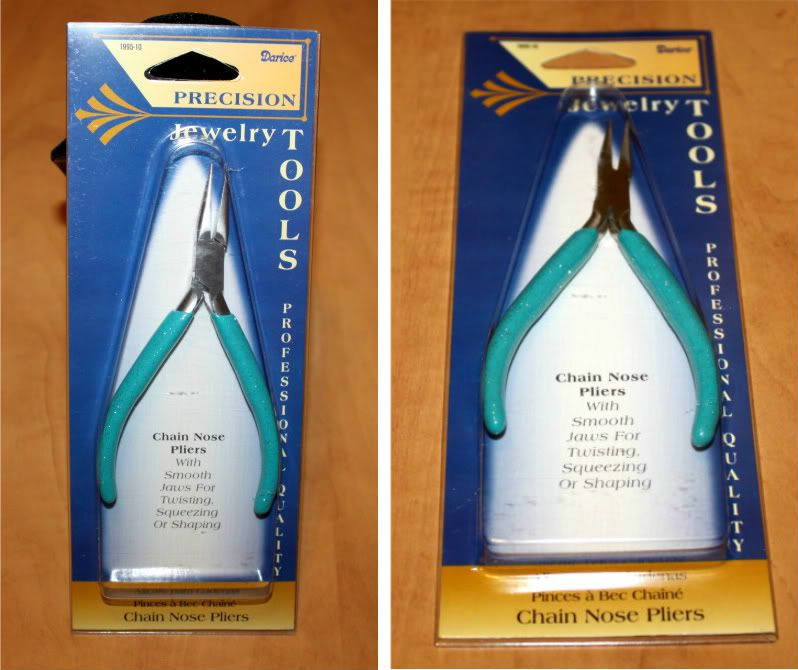
We also wanted some silver and gray chains to use for necklaces and for connecting and extending links. In addition we'd obviously need something to close the necklaces. Our fav type is the little magnetic clasps that don't really require much effort to open and close (like lobster claws and barrel clasps do). Mind you, they are magnetic so they do tend to pull things towards them. But we still love them.
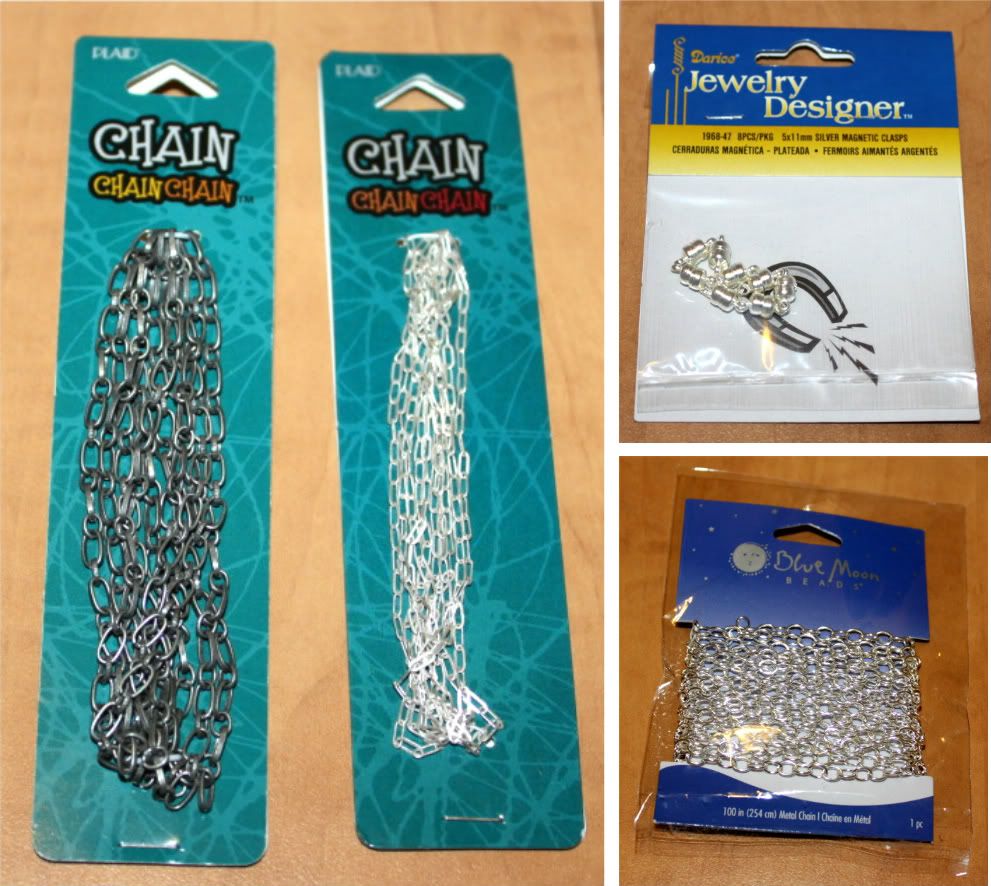
In the picture below - on the left the two chains are from Plaid and you can see they are called "Chain ChainChain" - funny, eh? They both cost $3.99 each as well. The brighter chain is very tiny and the links aren't open. We had to cut them open with a pair of scissors, but that was easy. The magnetic clasps on the top right are from Darice and measure 5x11mm -- they come 8 to a package and cost $2.99. The bottom right super-shiny chain is really long -- 100 inches -- from Blue Moon Beads. That cost $3.99.
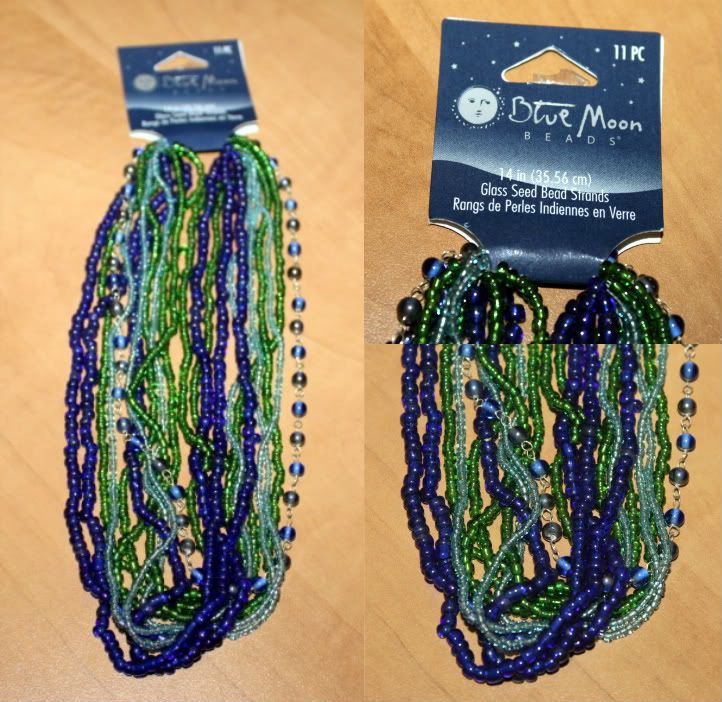
Also from Blue Moon Beads we got a cluster of glass beads in strands, 14 inches long each, 11 strands. The string the seed beads come on is probably very strong -- but when we go to use them we'll probably use something else to string them onto. We got this set because of the blue beads on thin wire -- we wanted to use that with a charm. This set cost $2.49 on sale from $4.99. At the store there was a whole selection of these types of beads in a variety of colors and styles.
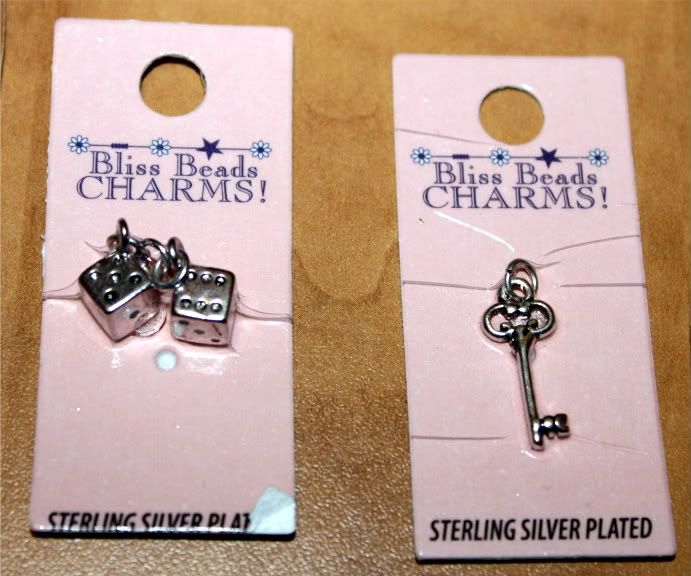
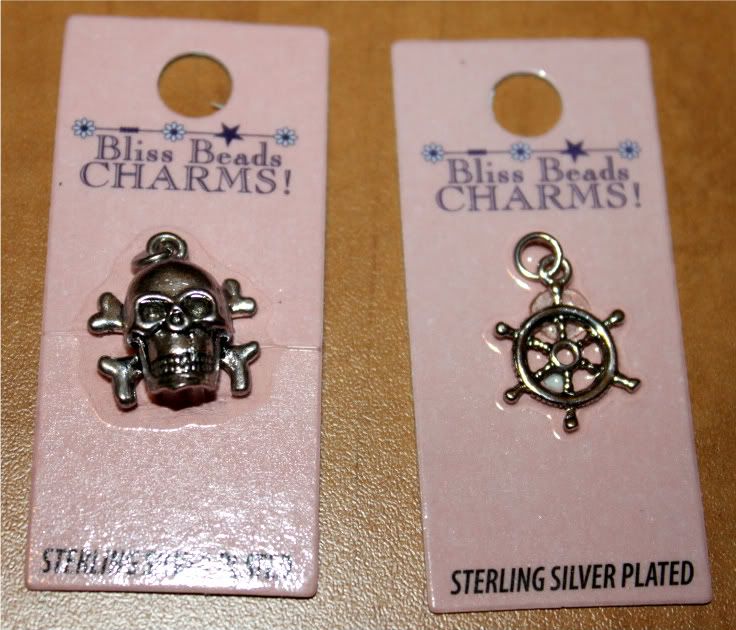
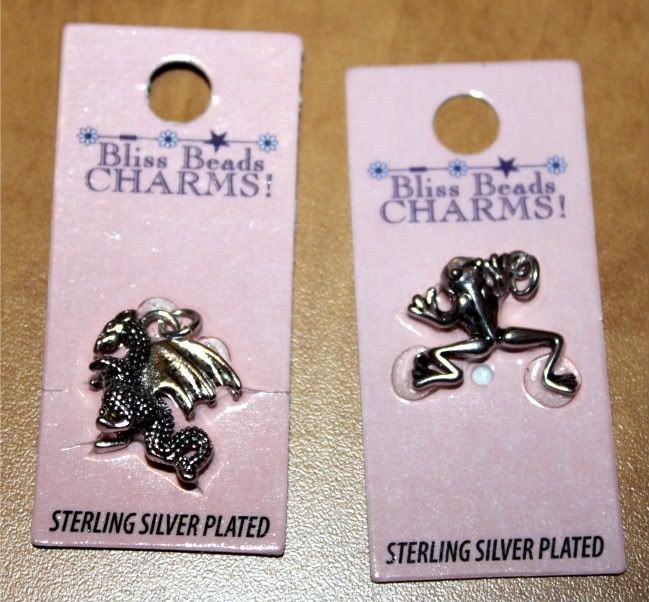
Logically, since we brought up charms we should show you the ones we got. In general, on the dolls they are a larger pendant, not exactly a tiny charm. But we'll show you how they look on dollies eventually, so you can see the scale for yourself. These are from Bliss Bead Charms. They cost $1.99 each. We purchased the pair of dice, key, skull and cross-bones, ship's wheel, dragon, and frog charms. There were a lot more to choose from, some better for dolly scale than others.
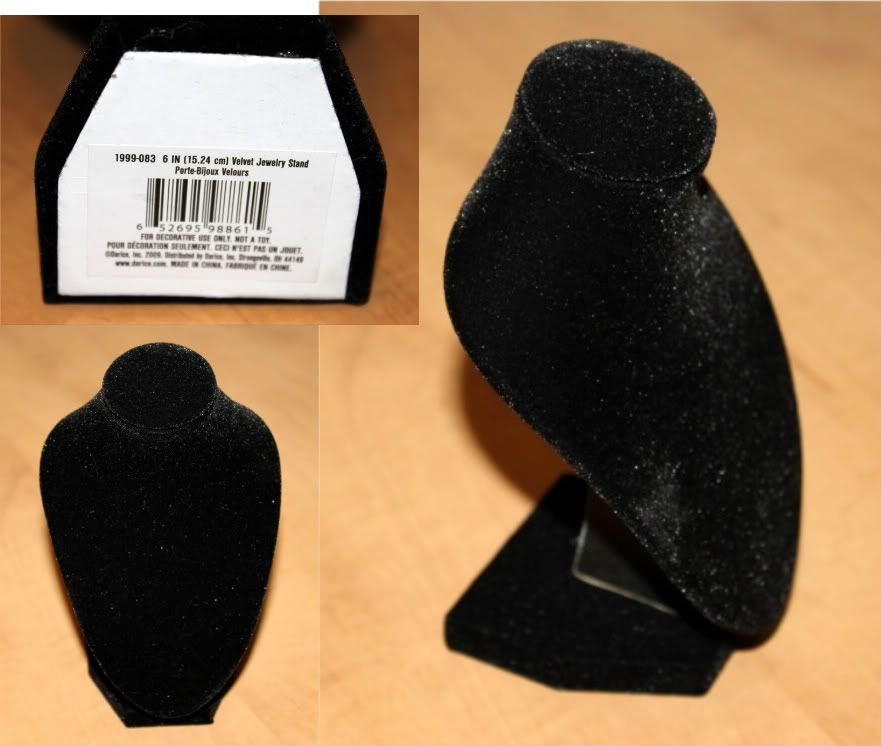
Next is something totally not necessary at all. Haha. We spotted this 6-inch velvet-covered display stand for jewelry and decided it would be fun to have. We use it to display a dolly necklace on the desk here at The Doll Wardrobe HQ to remind us of this tutorial we have planned. Heehee. It cost $6.99. There are other ones of varying size and style available in the store.
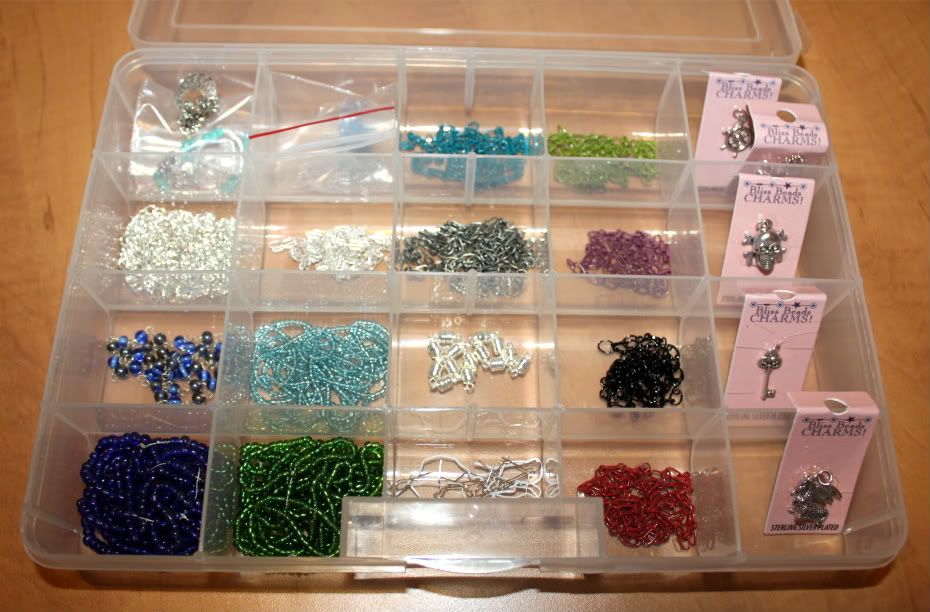
And finally some shots of the organizer with everything in it after we unpackaged all of our goodies, lid shut and lid open.
The next part of our Doll Jewelry Tutorial will be actually making one of the necklaces we have planned, heehee... so stay tuned for that. Oooo, the suspense! :-)
Any questions or comments? Feel free to share!
4 comments:
Sounds cool! Can't wait to see what you girls make!
-Mimi
What a great idea! I look forward to seeing what you make:)
I am so excited to see how and what you come up with! This is so exciting for me. I love the bead organizer I need to get one of them!
I can't wait to see the jewelry! I've been wanting to make some cute chains and stuff for my girls, but I've been too lazy. =P
Post a Comment