Friday, September 30, 2011

Updates, Requests, Polls, Questions

Haha. Do you like my title? So we have a lot of housekeeping to do today. No fun doll pictures. But lots of info for everyone. :-)

1) We added new tabs to the top of the blog under the header to help you find our Youtube Channel, our Facebook Page, our current photo contest info, and Maple's Story Blog. Hopefully those are helpful.

2) If you haven't subscribed to our Facebook page or our Youtube Channel yet, please do! Also, if you have a Youtube or Facebook page you'd like to tell us about, please comment below so others can know about it too. :-)

3) Pippaloo's and All Dolled Up's Facebook pages are seeking more "Likes" -- so please check those pages out and "Like" them. We think its a great idea to have a Facebook page if you have your own doll clothing or accessory shop -- maybe you should think of starting one if you are a shopkeeper. :-)

4) On our Facebook page we do a lot of "shout-outs" to items being sold on Etsy and Ebay. If you are a shopkeeper and want us to do "shout-outs" for your products please let us know. You can comment below or email us at nora.demington@gmail.com. We do it for free, just to advertise things we like.

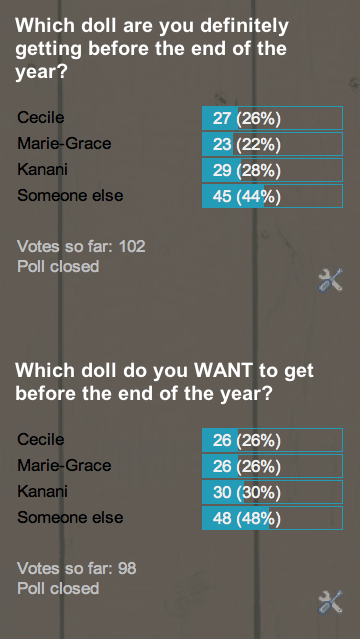
5) Our two recent polls have ended and we took them off the blog today. Here are the results....


Kanani still has a bit of an edge over Marie-Grace and Cecile in popularity.... but obviously a lot of people are interested in other dolls than those three! Perhaps the MyAG #55 that everyone likes or one of the other new MyAG's? Hmmmm......

We thought these polls would give us an idea of which doll to include in the next giveaway... but it is still a mystery since the three main girls basically tied in popularity... which leads to....

6) Our Photo Contest winner choose Kanani and she is currently being packaged up to be sent off to her new owner. :-)  So now we have MyAG #26 and Ivy left with us for the next giveaway. We have started a new poll to determine who will be the third doll... it lists Kanani, Cecile, Marie-Grace and MyAG #55 as the possibilities. So if you'd like to see one of those dolls included in the Fall/Winter 2011 Doll Giveaway -- please vote today!

This poll closes in a week -- so act fast!!!!


Wednesday, September 28, 2011

Kanani's Party Outfit

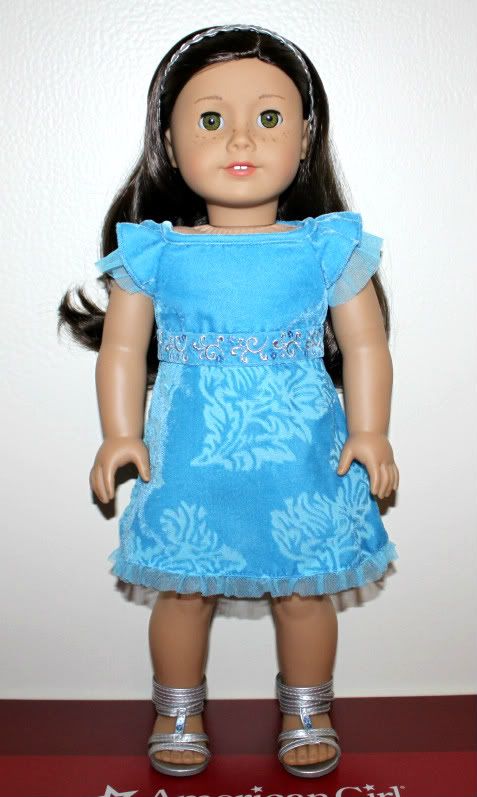
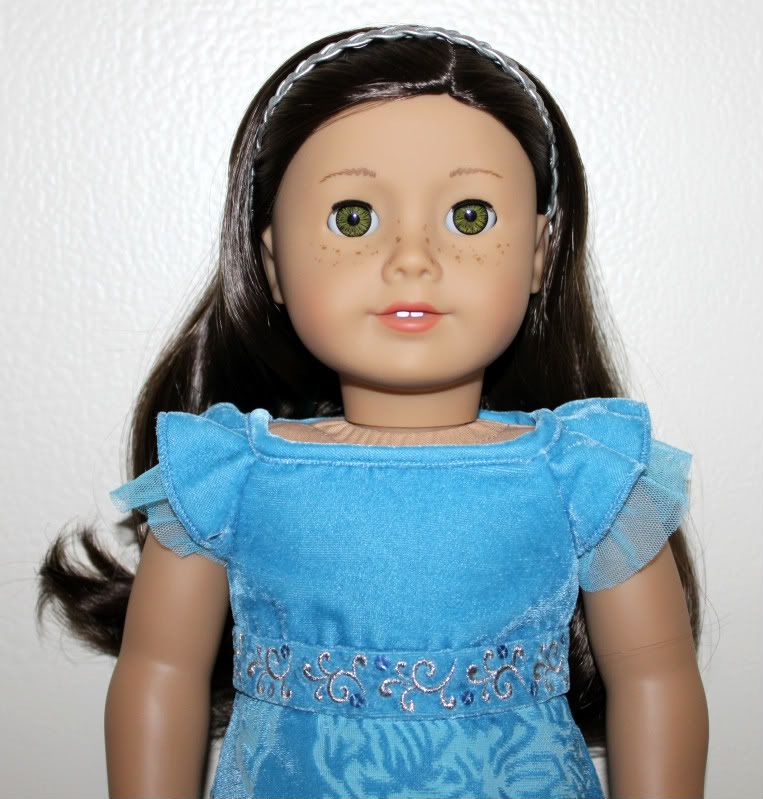
Hola! Today we have pics of Kanani's blue party dress on Maple, our MyAG #55. 

Our favorite parts of this outfit are the shoes and headband -- they are really cute. The dress is alright -- we like the color, but its not like Kanani needed another thing that was aqua, haha. And we aren't really sold on the velvety material. We kind of wish AG would stop using it -- it looks like towel fabric to us. This is accentuated by the huge burnt-out leafy pattern on the skirt (which we see on bath towels). They really should have picked a fabric with a smaller, doll-sized pattern on it at least. 


But besides these complaints, it looks pretty nice on Maple..... and we like the embroidery and sequins at the waistline and the design of the double cap sleeves.....


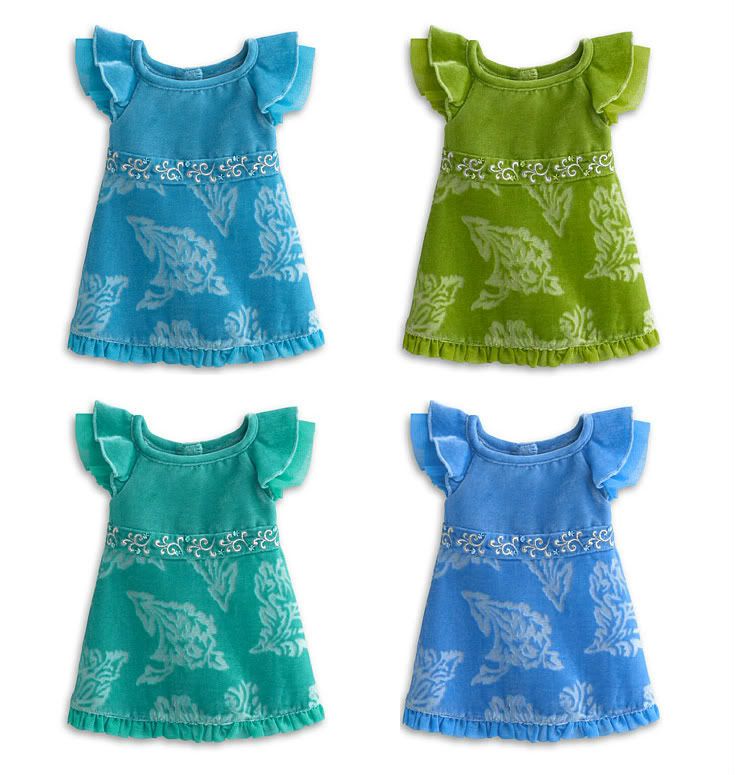
AG's dress with three other colors we like.... why'd they have to pick aqua again? Haha.


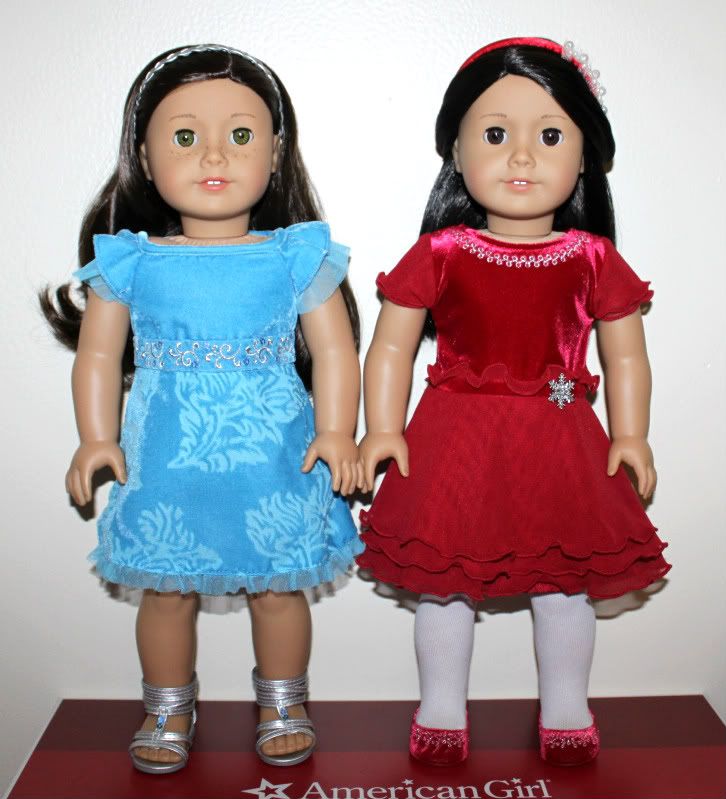
Here is Maple with Stella in the Merry and Bright Outfit....
We think the same person designed both of these, they look similar to us. ;-)


Maple up-close and then a slideshow...


Thanks for visiting us today!

If you have any questions about this outfit, let us know!

Stay tuned for more fun posts!

Tuesday, September 27, 2011

Quietude Quilts One Day Sale!

Just a quick post to let you guys know about this if y'all didn't get the email notice or haven't read about this over on Doll Diaries....


Quietude Quilts One Day Sale!
Buy 2 Get 1 Free - Tuesday

"The perfect time to start your Christmas or holiday shopping.  This Tuesday, September 27, get a FREE quilt set of your choice with every 2 purchased!


Plan your daughter's new Christmas doll bedding or stash away quick sweet gifts for nieces, granddaughters, and birthday parties.

Photographers, stock up on bedding props for your newborn bed - for baby girls, baby boys, or gender neutral patchwork quilts.


The sale will run all day Tuesday, one day only!  Simply purchase your 3 chosen quilt and pillow sets and mention "Buy 2 Get 1" in "Notes to Seller" at checkout, and I will refund you the cost of your third quilt set within a few hours.  (Your free quilt set will be one of equal or lowest value.  You can save more than 30% off your order!  All quilts sets are available while supplies last only, so come early.)

See you on Tuesday!  Shop at www.QuietudeQuilts.etsy.com 

Join www.facebook.com/QuietudeQuilts for future new items and sales.

Thank you so much, friends, for your support of my and my husband's small business!  We'd love to see your photos of your Quietude Quilts and beds!

Kelsey and Jonathan
QuietudeQuilts.etsy.com
facebook.com/QuietudeQuilts"


Monday, September 26, 2011

AG's Merry and Bright Outfit

Hola! We are trying to do a mix of handmade items as well as AG stuff on the blog -- but we really haven't been buying a lot of AG stuff lately. Very few of the new MyAG outfits have been calling to us. So we'll mostly have to do opinion posts for the items released recently. But first we'll discuss what we have purchased....

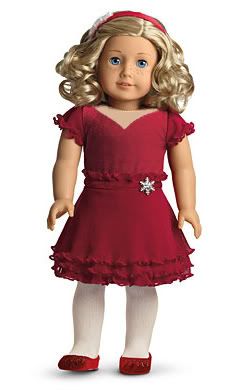
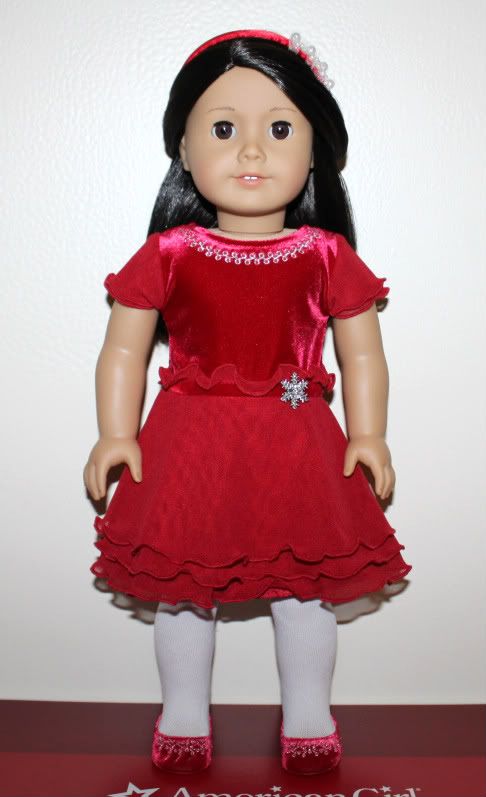
For today's post we'll look at the MyAG holiday Merry and Bright Outfit that was released at the end of August. Our initial impression was: We already have this outfit, twice... 2008's Scarlet and Snow outfit and 2010's Ruby and Ribbon Outfit....... yeah. But it was still calling out to us because it is red (we like bold colors) and if we didn't get at least one holiday outfit from AG it would be the first time in many years that we didn't. :'(

The Frosty Party Outfit wasn't really saying "Buy Me! Buy Me!" We don't really like the sweater and fancy skirt combination. In our opinion they'd probably look better separately but we really didn't feel like spending the money to find out. We'd have preferred a blue sweater without the embroidery and a skirt that doesn't look like it was ripped off the 2009 Fancy Flower Outfit. Also the whole color scheme is kinda blah to us. Oh well.

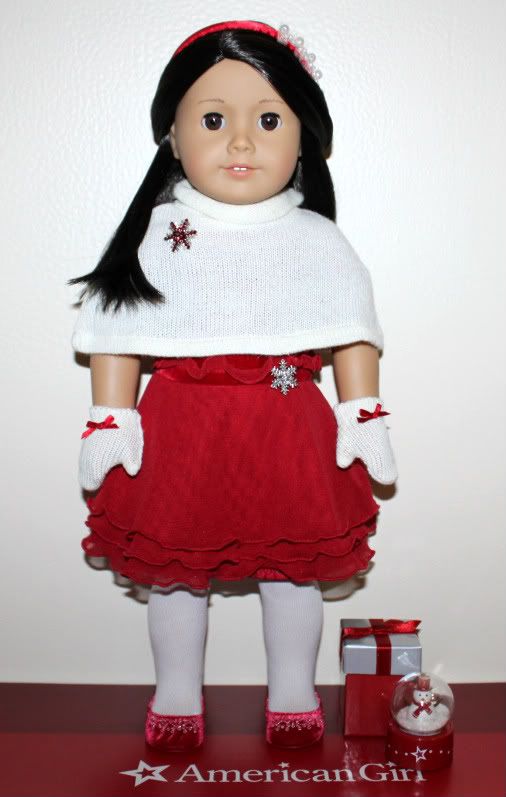
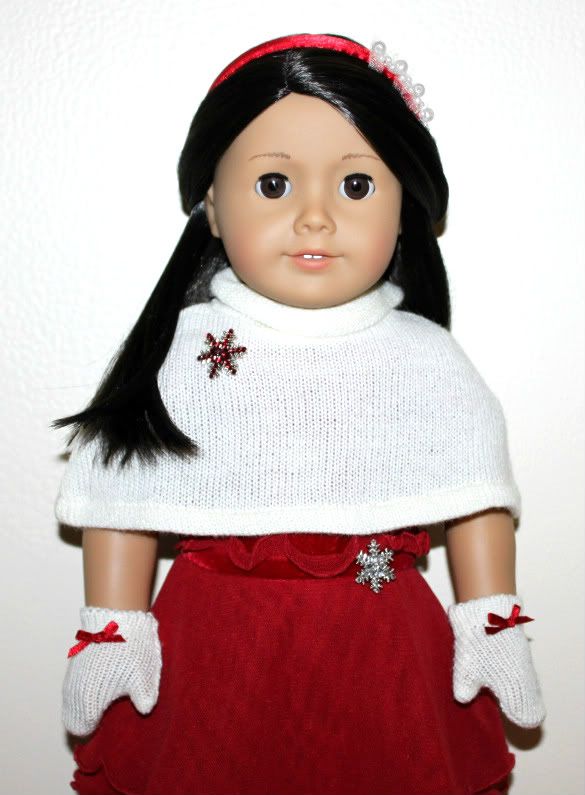
So we ordered the Merry and Bright Outfit and its accessory set. We like the knit capelet and mittens very much and we highly recommend them. And we like the snowflake pin accents on the capelet and dress-- just so you know, they are sewn-on and not easily removed. The snow globe is pretty cute -- but doesn't have the liquid inside it -- just glitter, in case you wanted to know that, haha.

Overall, we like the red dress, but it is a little odd. The design of the top makes it look like a fancy red tee shirt that was sewn onto the bottom of a prom dress. We would have gone with a sweetheart neckline to make the top of the dress look more posh.... see photoshop below....


And AG's choice of red velvet on the top kind of makes it look a bit cheesy and childish. That is our overall complaint for the recent MyAG releases -- many outfits look like clothing for kids younger than nine or ten. Which is fine if your dolls like that kind of clothing. But in general our dolls don't -- hence, why we don't own things like the 2009 Sparkly Plum Outfit.

Anyways, Stella was asked to model the Merry and Bright outfit for us because she looks the most different from the blonde-haired blue-eyed doll that models it on the website, so you can see her pics below.


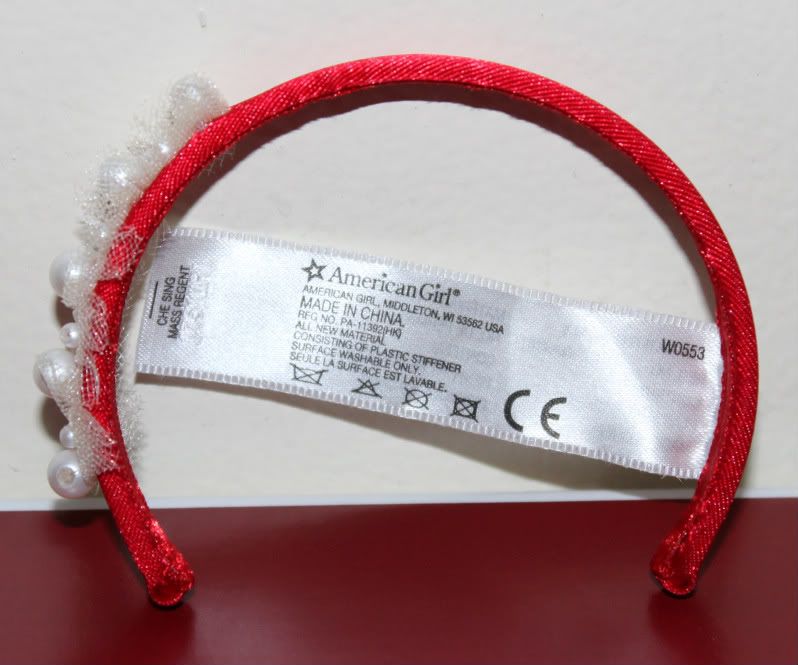
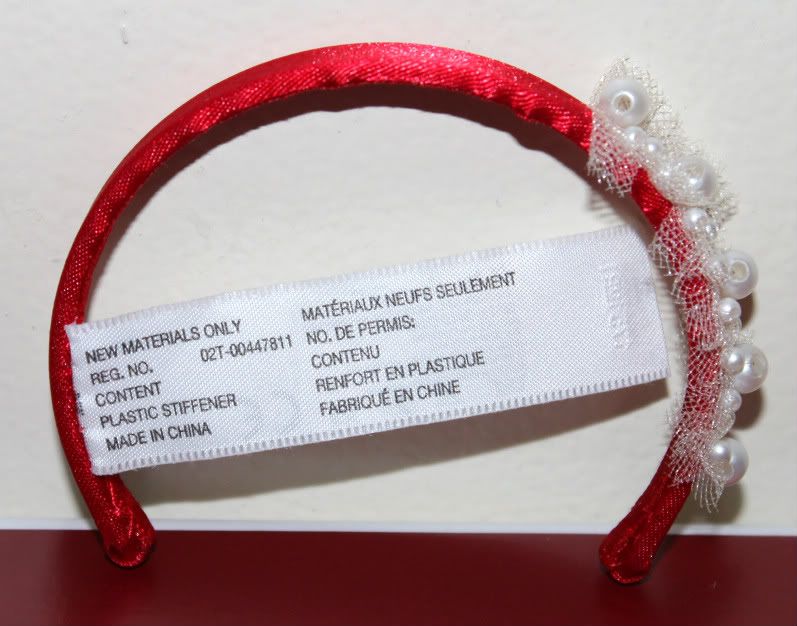
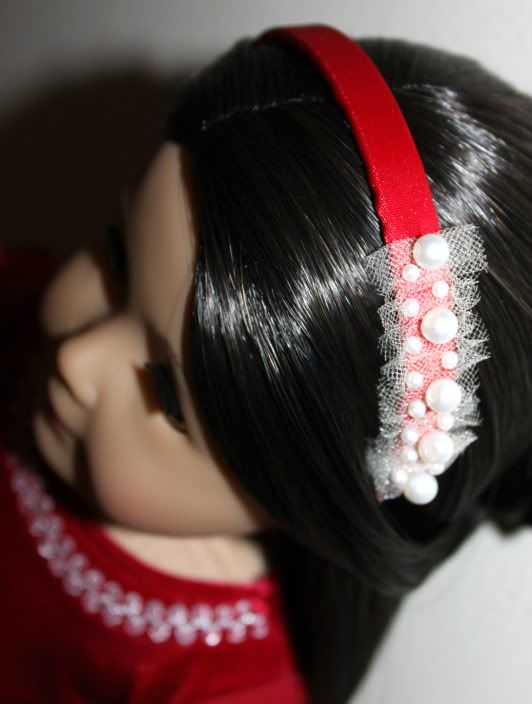
Also, the headband came with this huge tag that we had to cut off. People have talked about this on the boards and apparently many items have this tag now, including the dolls. So we included some pics of the tag before we cut it off. We weren't sure if we liked the headband, but once it was in Stella's dark hair we thought it looked really pretty.


Here are two more shots with and without the capelet and mittens and 
then a slideshow with detail shots of everything....


Thanks for visiting us today! 

Let us know if you have any questions about this outfit and/or the accessories!

Stay tuned for our next post -- Kanani's blue party dress modeled by Maple!

Thursday, September 22, 2011

Maple Insists: Two Iron-On Projects!

You remember when we took a day off from Maple's treasure-hunting during the rain and she insisted we try some iron-on projects? Well we finally get around to showing you that excitement. Haha.

We stopped in at Michael's to see what types of AG stuff they offer. Here is the website for AG-brand crafts: http://www.eksuccessbrands.com/licensedbrands/subbrand.htm?sbid=797 But it is fun to see them in person. The scrapbooking supplies and stickers look really nice, fyi.

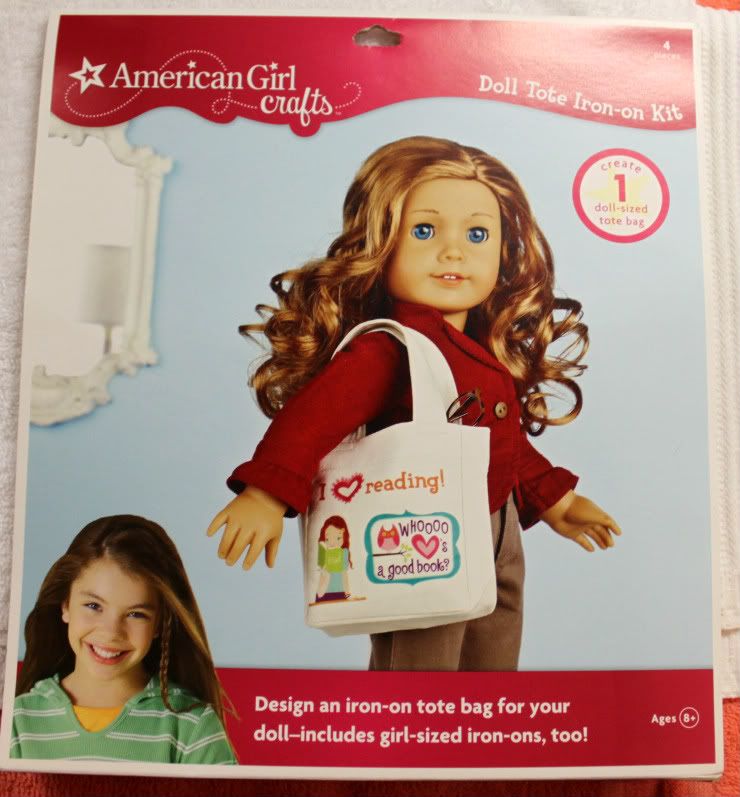
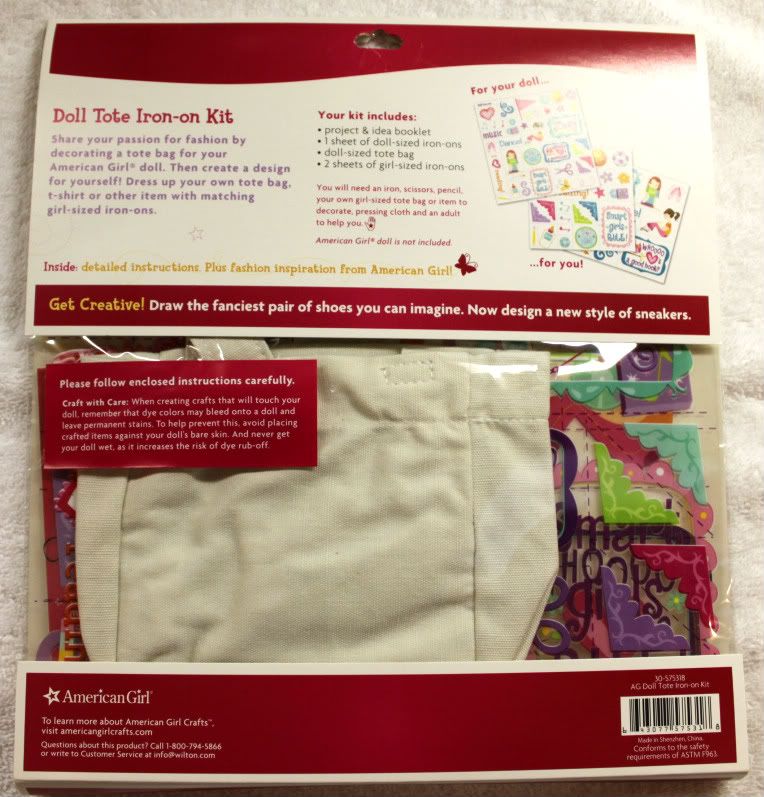
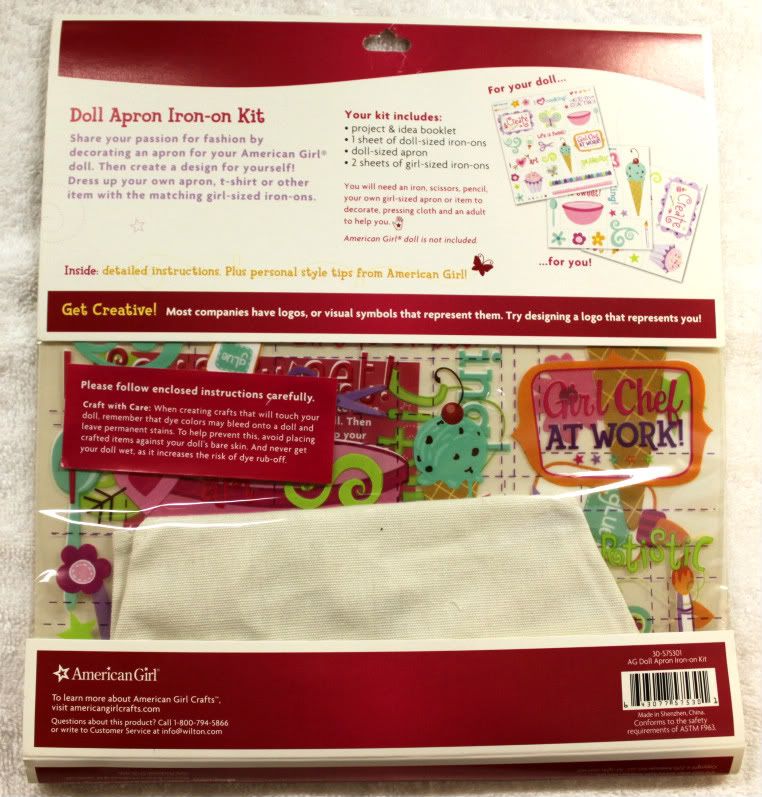
We wanted to try some of their iron-on projects, so we picked up the tote bag and apron packages. They ain't cheap. If you want them we recommend using those Michael's coupons everyone always talks about. Pics of the packages.... front and back....


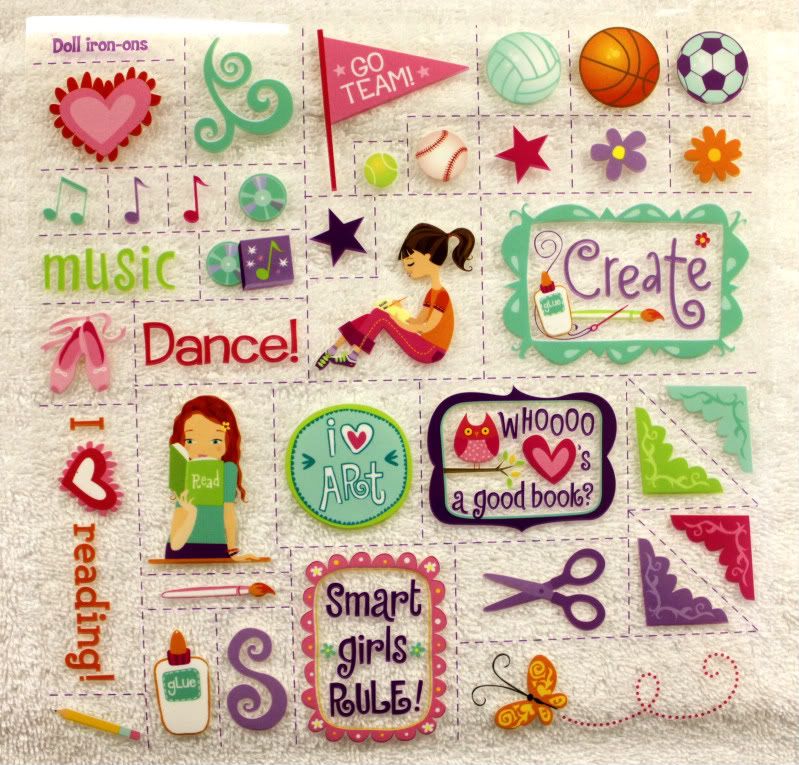
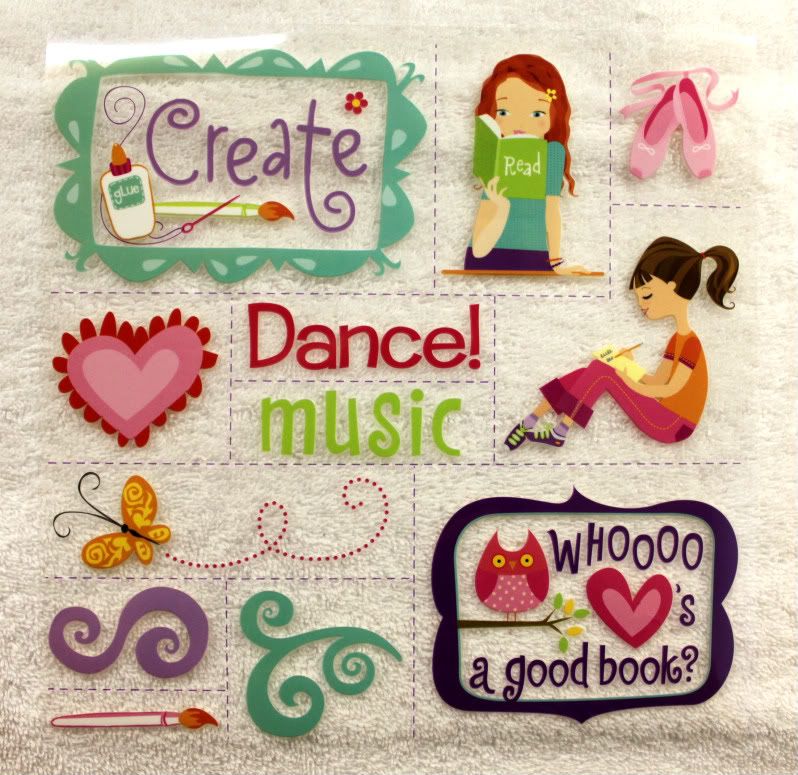
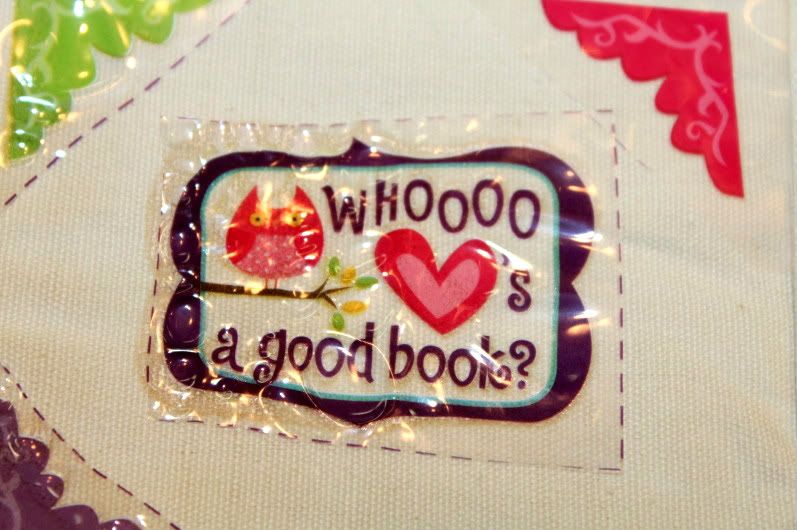
The first project we tried was the tote bag. We have yet to attempt the apron one because we failed so miserably with the tote bag. Haha. But we'll get around to it and show you guys how it went. Here are pics of the iron-ons that came in the tote bag package. There are doll-size ones and girl-size ones.


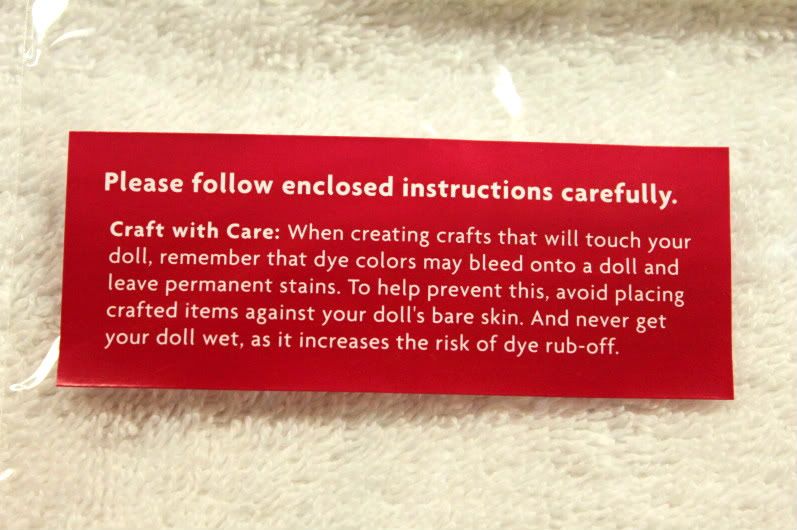
General warning about iron-ons, dolls, water, and staining...


The instruction booklet says to have an adult help you. Check.
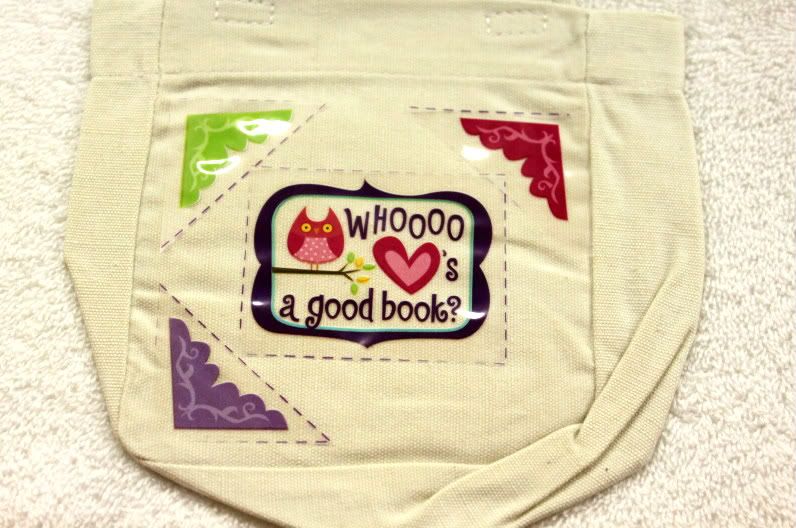
Step One: Arrange all the pieces plastic-side up onto the tote bag to be sure they fit.
We wanted to put the owl in the center and then have four colored corners around him, but only 3 corners fit because of the bag shape. Our plan was to put the fourth corner on later.


Step Two: Place a pressing cloth, like a tea towel, over the iron-on transfer.
Step Three: Use a dry, medium cotton setting. Do not steam. Firmly press iron atop cloth and across every part of iron-on transfer for 20 seconds. Do not move the iron in circular motions.


Step Four: Let fabric cool.
Step Five: Remove pressing cloth.
Step Six: Seal the edges of your design by ironing around each edge for 5 more seconds. (Iron over the plastic sheet. No pressing cloth necessary.)
Step Seven: Allow iron-on to cool completely.
Step Eight: Peel up one corner of the plastic to check for adhesion. If the transfer is still attached to the plastic, immediately replace the plastic and repeat steps 5-7.

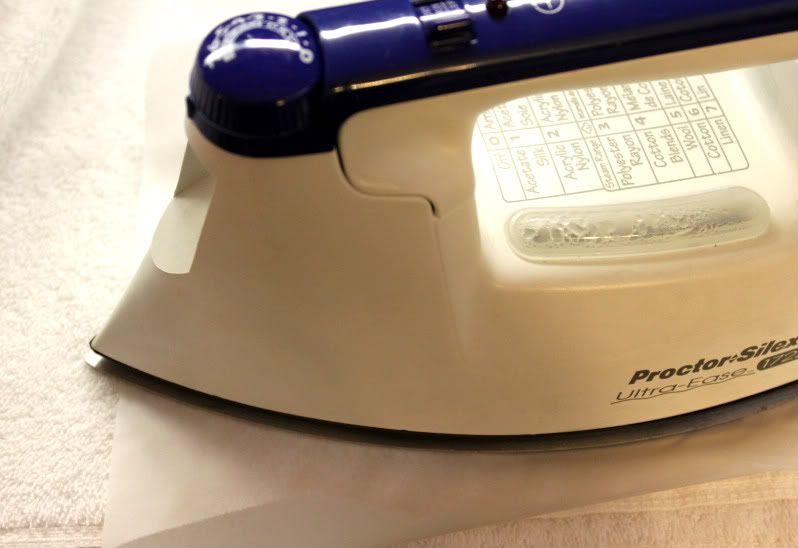
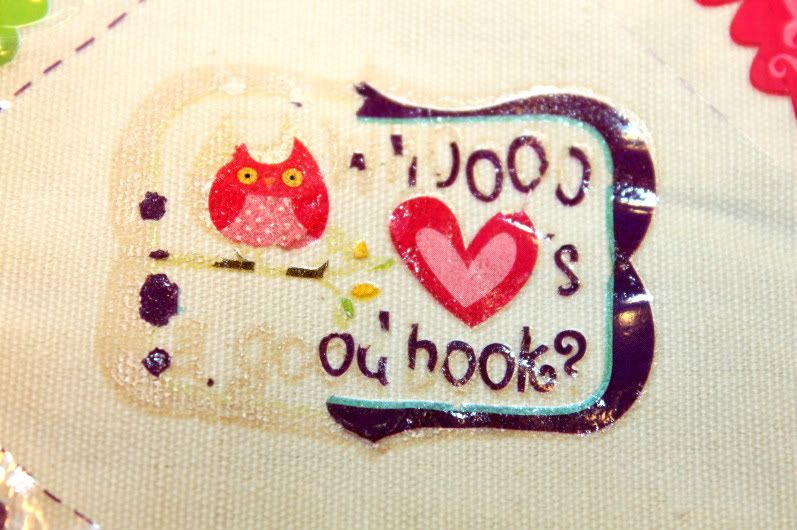
So yeah, we did all that. But with baking paper instead of a tea towel. And the iron-ons didn't transfer to the tote bag. So we keep repeating steps 5-7. Nada. And we turned up the heat. Nada. We pressed more firmly. Nada. Iron-ons just did not want to be on that bag.

And then the iron-ons started to wrinkle up/melt from the heat. Which is obviously not what is supposed to happen.


So we ruined one side of the bag. We will try the other side sometime, perhaps with different-brand iron-ons. We are curious to see if the iron-ons transfer more easily to the apron which is flatter/doesn't have the bulges of the tote bag. And we'll try our other iron, just in case in was an equipment issue.

Anyways, epic failure. In the end, we're not sure if it was us doing something wrong or the instructions, or the iron-ons, or the tote bag or what. But from our one experience we weren't very successful with this AG craft. :-(

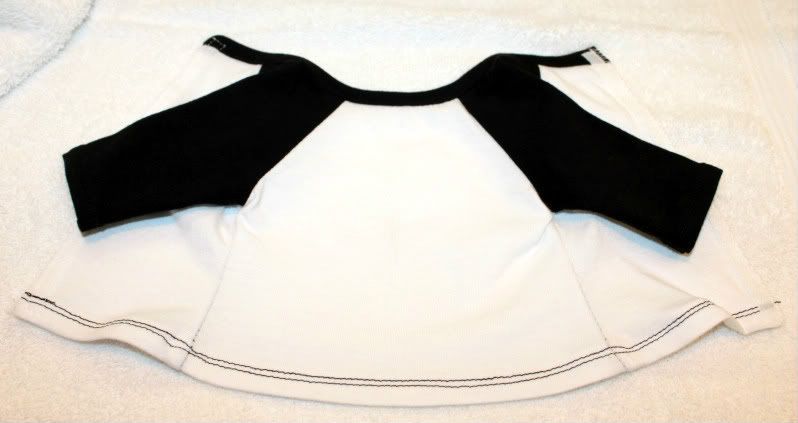
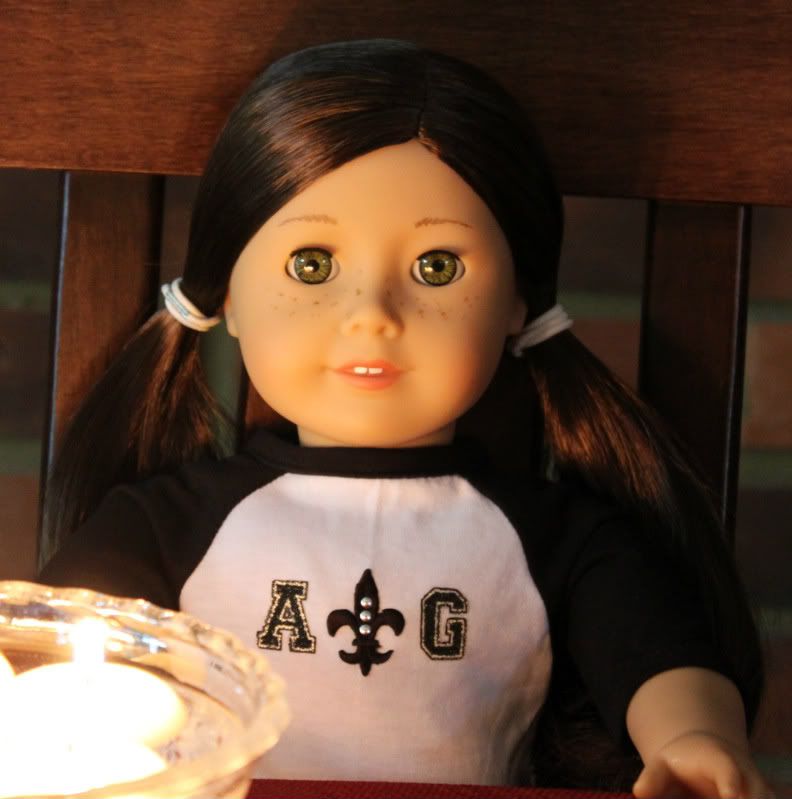
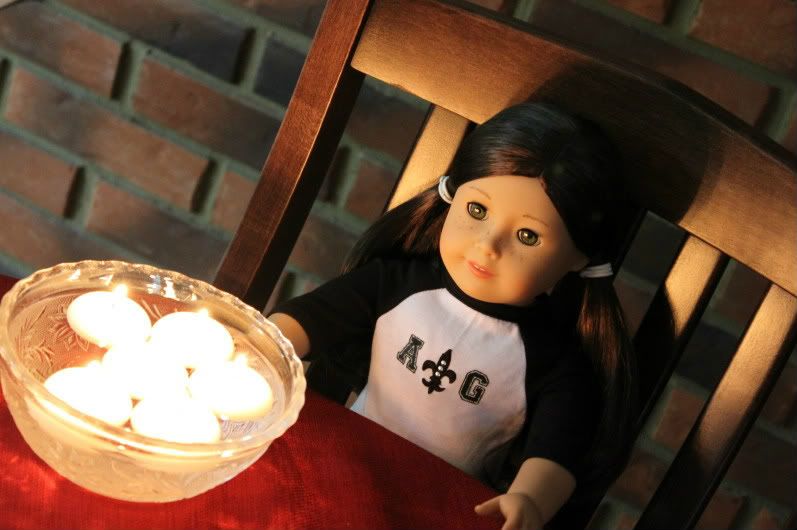
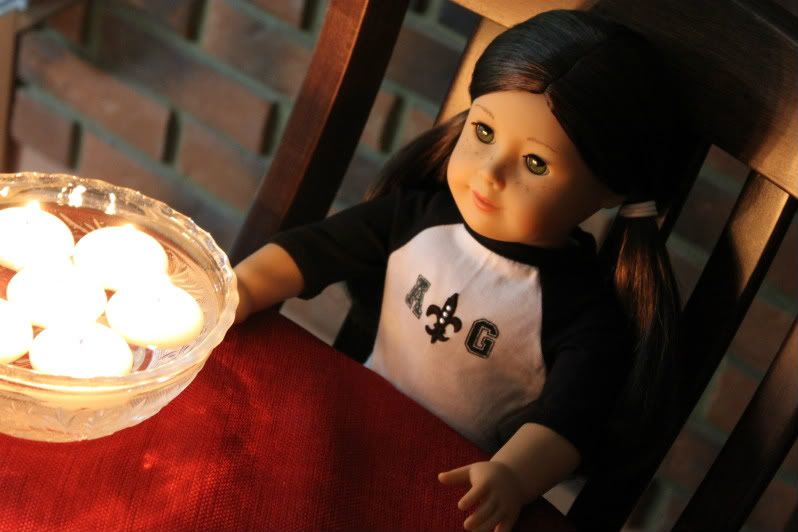
We were so disappointed with our tote bag disaster that Penny gave us a black and white baseball shirt from Liberty Jane and some 3-D iron-on embellishments to use on it. So that is Project Number Two for this post. And luckily it worked fine. Baseball shirt pic....


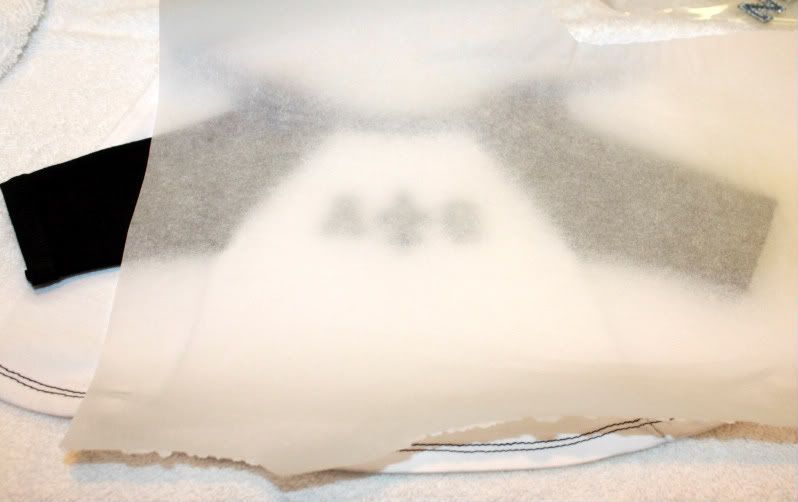
Same towel under the shirt as under the tote bag. Same baker's paper under the iron. Same iron.
Step One: Arrange iron-on design on the shirt.


Step Two: Place baker's paper down on project.


Step Three: Put the iron on cotton setting.
Step Four: Iron one side for 10 to 15 seconds, pressing down firmly.
Step Five: Flip shirt over, iron from the other side for 20-25 seconds.
Step Six: Let cool. Don't touch the metal bits. They're hot. Haha.
Step Seven: Test to see if the iron-on is adhered to the shirt.

Check. On all fronts. Iron-On project success!

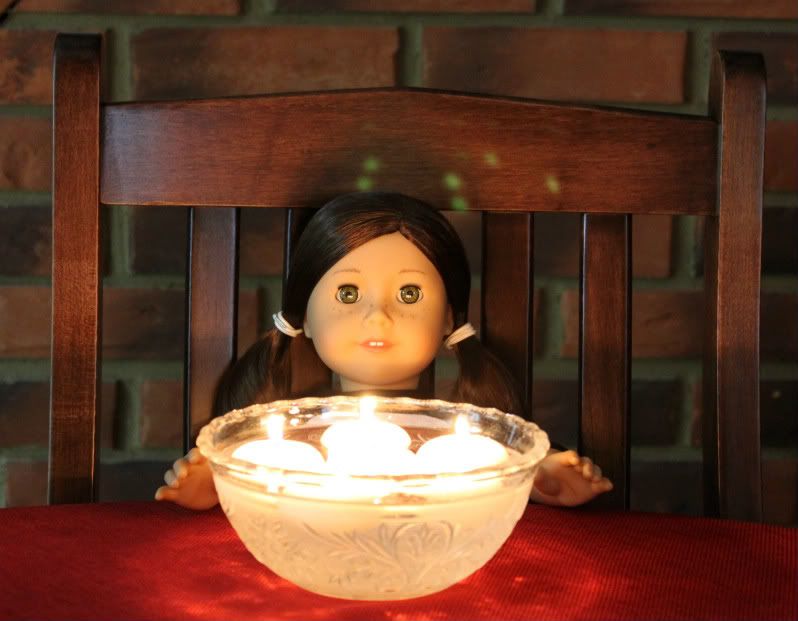
So Maple got this cool shirt with an A, a G, and a fleur-de-lis on it. And here she is modeling it below. She wanted to pose with the bowl of candles at the kitchen table for dramatic effect. We'll show the shirt in a normal, full-length setting as well, haha. So stay tuned! And of course, stay tuned for the apron attempt. ;-)


Thanks for visiting us today!

Let us know if you have any questions or comments. :-)

Monday, September 19, 2011

Inspiration: Crewcuts Fall Catalog
And Some Thoughts on "New" AG Stuff

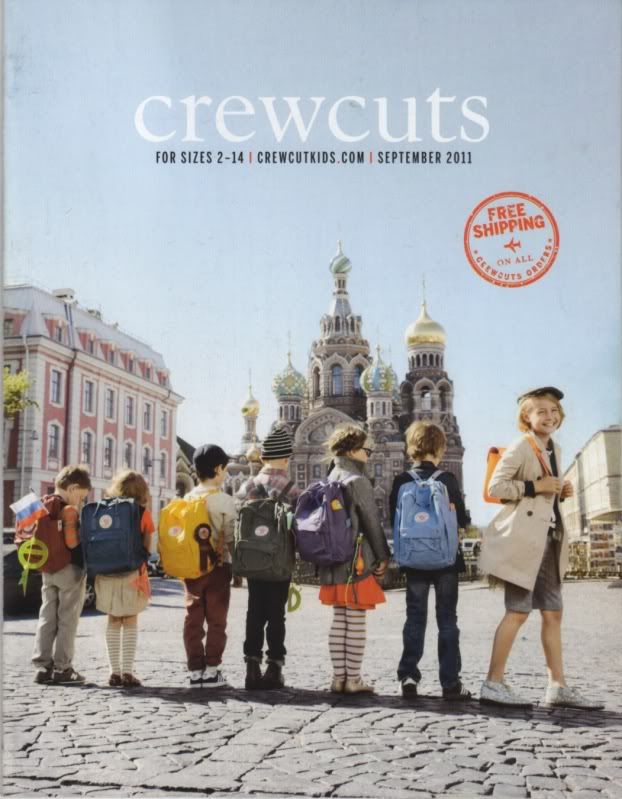
We did the Halloween Costume Inspiration post with lots of pics of human costumes for y'all to look at and this time we'd like to show you pics from the Fall Crewcuts catalog we received. Crewcuts is the J.Crew kids' clothing line, just fyi.

We like a lot of what is offered for girls as far as styles. There are a lot of mix-and-match type of pieces. But we actually prefer the colors they use for the boys' clothing. We tend to look for darker colors in general, less pastels, less pinks, and we tend to avoid peaches. So that is why we show you both girls' and boys' outfits in today's post.

We wanted to just put some ideas on the table sew-to-speak, for seamstresses out there, as we start formulating our opinions of AG's newest modern clothing releases (we have only bought two modern outfits from them since the summer).

So we'll do some stand-alone pics with commentary and some slideshows in this post..... warning: long post, lots of pics...

First off, here is the catalog cover and it highlights something that I think seamstresses should really think about.... backpacks. Liberty Jane offers the Sew Urban designed backpack pattern for $3.99: http://libertyjanepatterns.com/2011/07/the-urban-backpack-for-ag-dolls.html.

When we saw it we thought how awesome it would be to make a limited edition line of back-to-school backpacks, each with different fabrics used. Perhaps with a custom logo on some. And of course you can always design your own pattern if you want a different look.


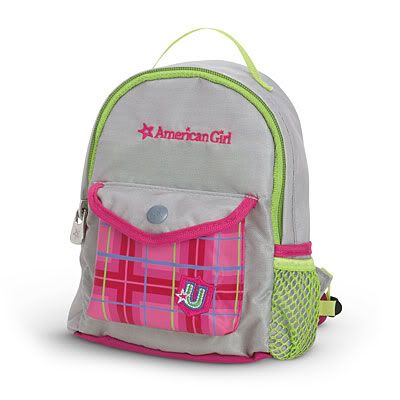
The AG backpack that was released this summer was so popular it is already backordered.... http://store.americangirl.com/agshop/html/item/id/184654/ctc/SI. So backpacks can definitely be hot items if designed and marketed well.


If you need fabric and color scheme ideas, you can always peruse the Land's End and L.L. Bean websites -- two companies that pride themselves on offering a variety of backpacks every autumn. Shots of L.L. Bean backpacks from their Fall kids' catalog are below.... we suggest trying combinations of blues, greens, purples, and plaids with greys, blacks, and chocolate browns....


Moving on.... our favorite look from the whole Crewcuts catalog.... what we wish AG had made instead of the pink Cozy Sweater outfit: A grey sweater dress, shawl collar, brown belt, long-sleeve navy and white striped shirt, navy leggings, ankle boots. Tiny bow pin accent to pull it all together.... so cute.....


If there are seamstresses/knitters out there with the ability/fabric to make tunic sweaters and sweater dresses, you might want to try to sell some this fall. If you are knitting, make sure the yarn isn't bulky -- something like sock yarn would work. And try to offer them in colors other than pink since AG is already selling that color. Also, the cross-over collar of the AG outfit is awesome, fyi.
Of course, if you are awesome at creating knitting patterns -- making one for the "Cozy" sweater and one for the "Cozy" sweater boots would be a great idea in our opinion.

Next a slideshow of tops, pants, skirts, shoes and sweaters Crewcuts is selling this autumn... again the colors aren't all calling to us personally -- but we like some of them, as well as the designs and some of the embellishment ideas. 

We especially like the various types of layered, ruffled skirts and the cream-colored long sleeve shirts with "Parisian" graphics. In addition the AG market tends to lack cardigans (of varying lengths) so those would be nice to see more of -- especially the longer belted ones.


More cute dresses they are offering besides the awesome grey sweater-dress we showed you above... we think some of these have potential.....


And various looks they are pitching.... not so sure about some of their color combos... for instance the outfit with the orange skirt... but still we generally like what they are putting together... and the fact that they are using orange..... go orange!


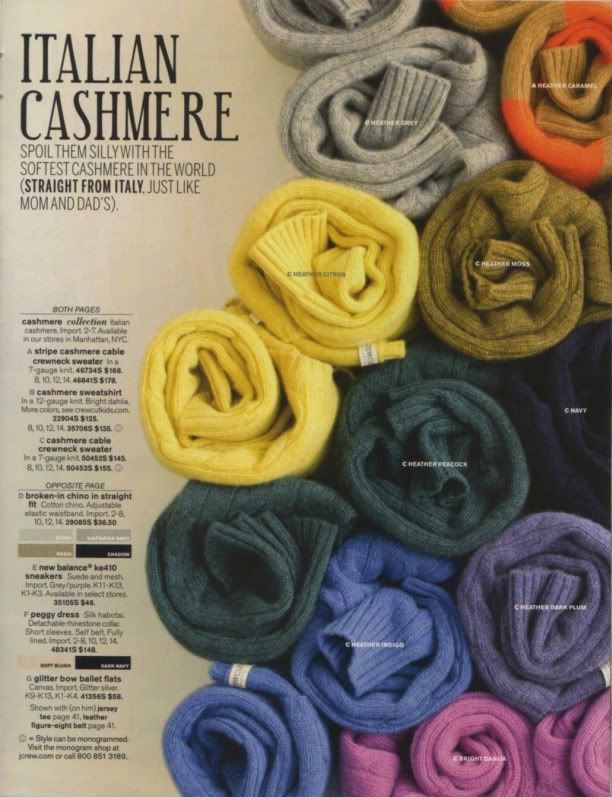
A pic of their cashmere sweaters and one for their cords... we show them to you because they highlight the types of colors we love....


Various boy outfits that we'd totally put on our girl dolls because they are awesome....


And if you are already thinking ahead to the cooler months.... the puff and quilted vest and coat are in this year... 


Though the "puff" attire theoretically could make an AG doll look like a giant marshmallow --- you could do coats and vests with two layers of fabric, a thin layer of batting in between, and quilted detailing. This is essentially what AG has done for the popular red vest in their new "Sporty Winter" outfit.... (Most people are probably buying this outfit for the vest... and maybe the boots.... so we think this type of vest might sell well.)

Oky doky... that's all for today. Thanks for visiting us and stay tuned for more posts soon -- there is a lot of stuff in the works!

And be sure to enter our Sept/Oct Giveaways and check out our current Photo Contest!
The winner of the Photo Contest gets a $20 AG Gift Card!

Thursday, September 15, 2011

Doll Jewelry, Part Six:
Cascade Necklaces!

Hola! And sup! Today we return to our doll jewelry project. This is our sixth post about this topic, as you can see from the title. If you want to see our other posts on the subject, scroll down the right sidebar menu and find the label "Doll Jewelry" -- it will bring you where you want to go. Those posts give you more of an idea of our step-by-step process and our supplies/tools if you are curious.

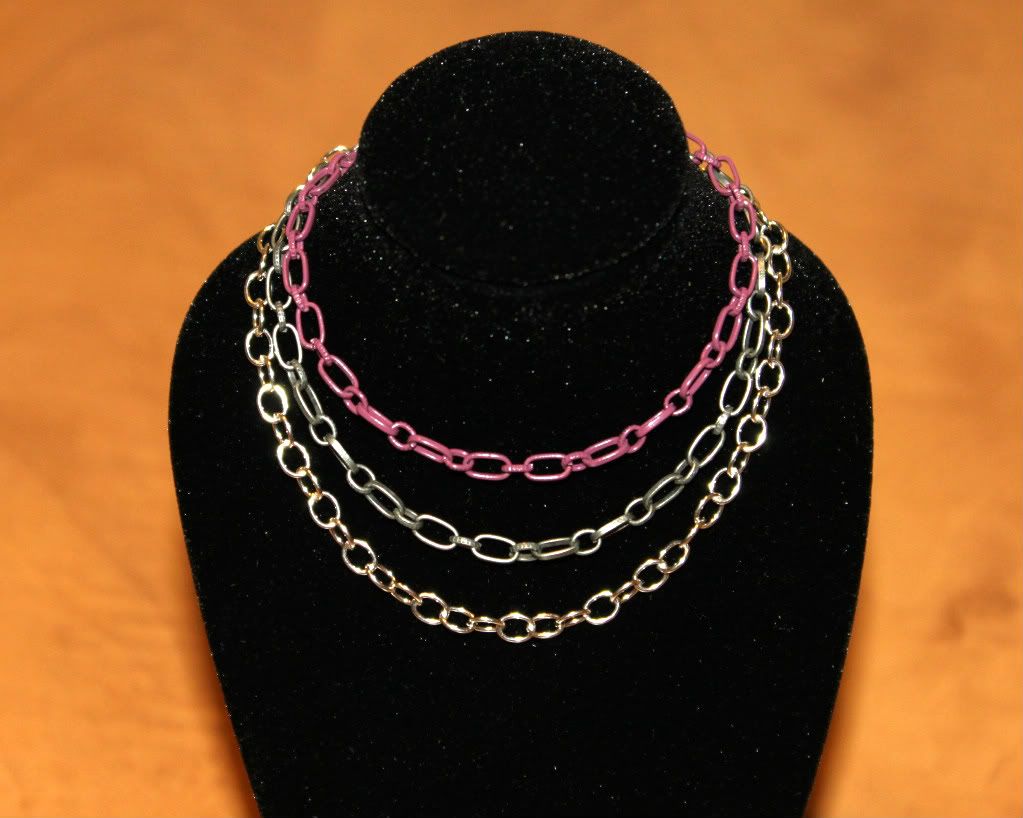
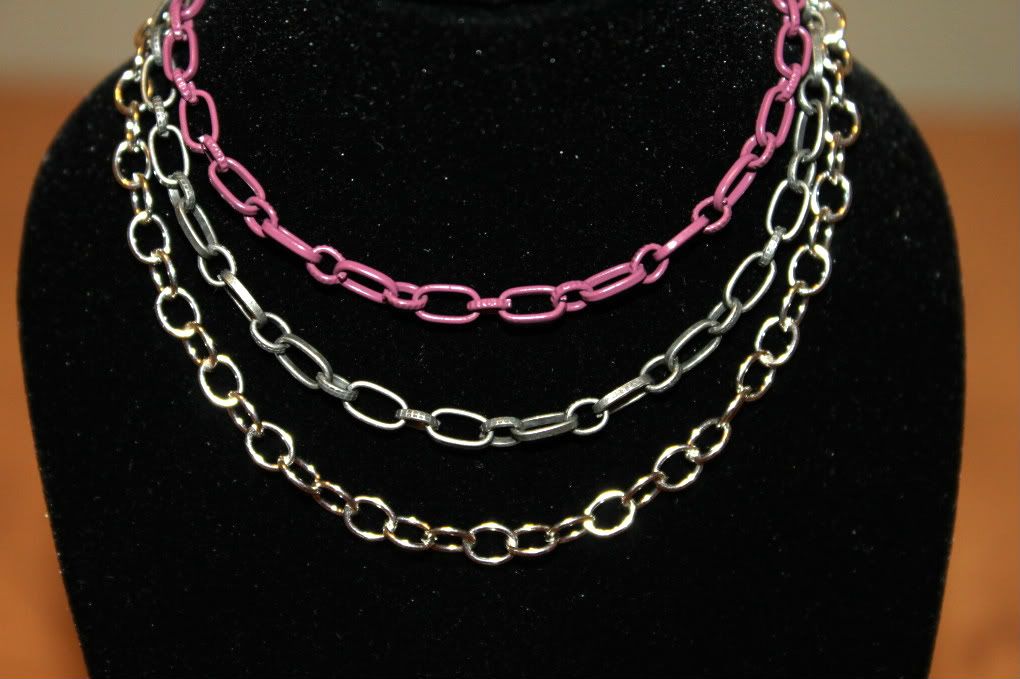
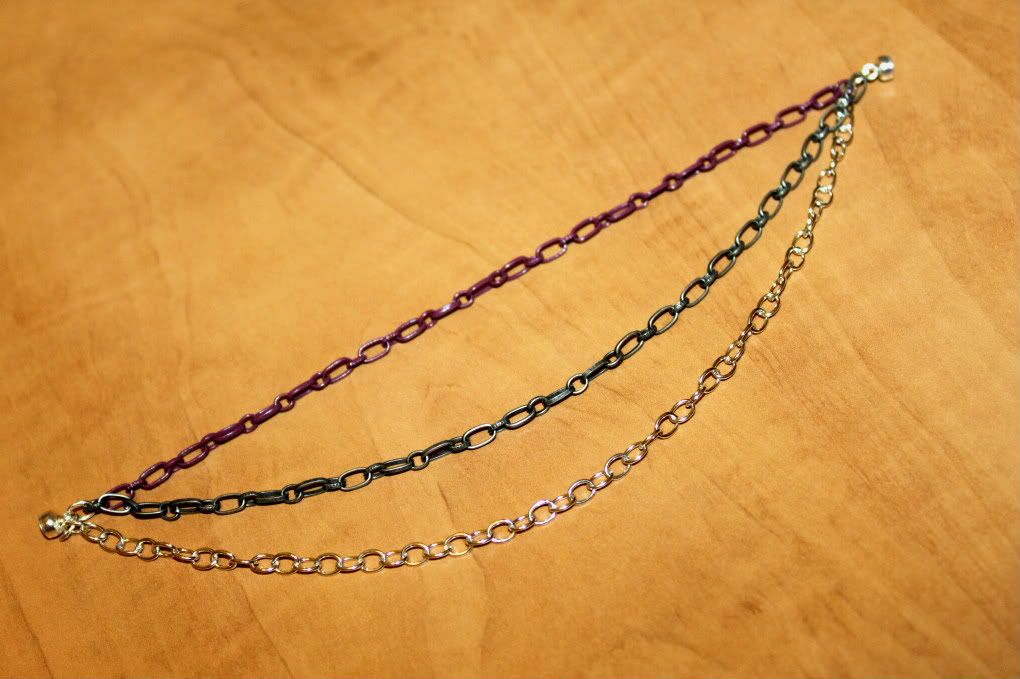
Our project today is creating three "cascade" necklaces for Kaya. We didn't really know what else to call them, but we figure "cascade" is clear enough -- maybe "tiered" would work as well. Essentially what we did is connect three chains of varying length to one magnetic closure.

Warning: Long post. Lots of pictures!

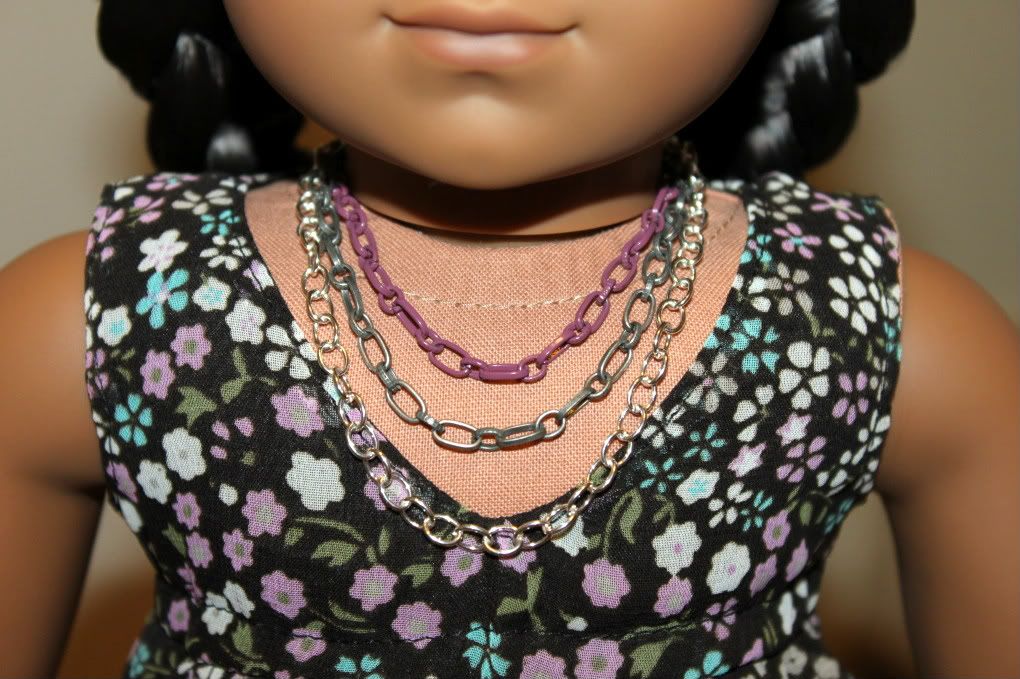
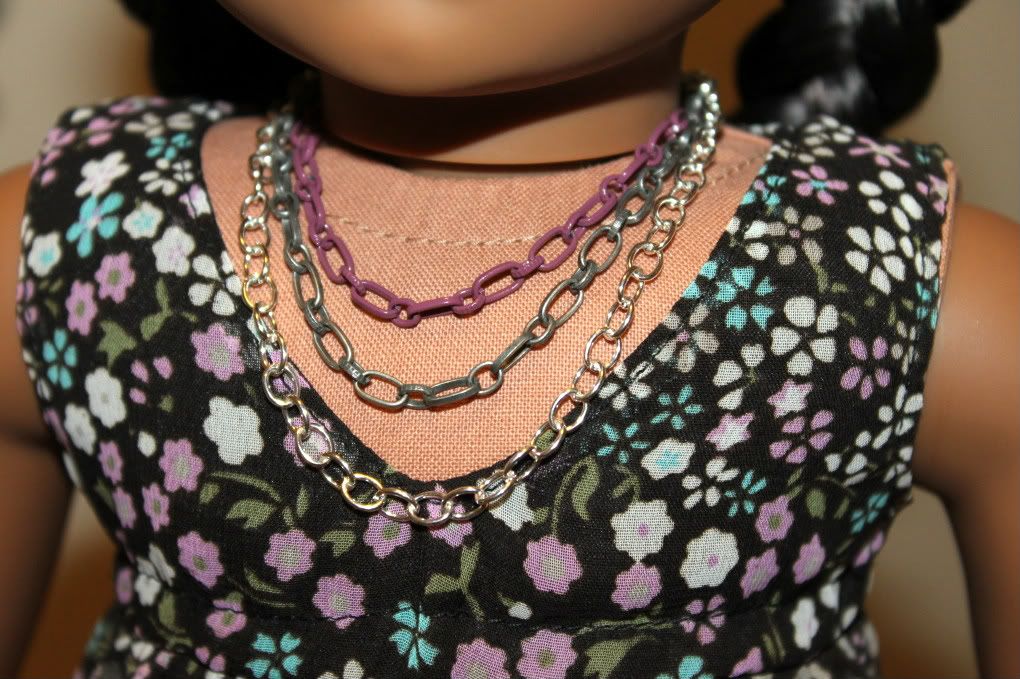
For our first experiment with this technique we used purple, dark grey, and shiny silver chain lengths -- you can see the necklace on our stand in the pics below...


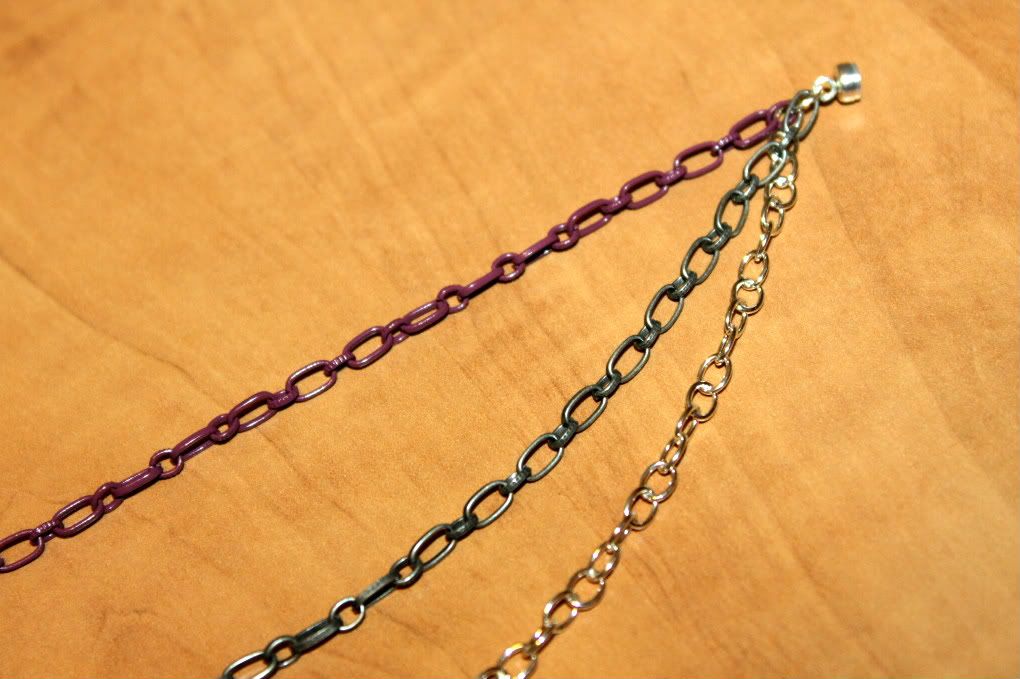
Here are pics of it laid-out flat....


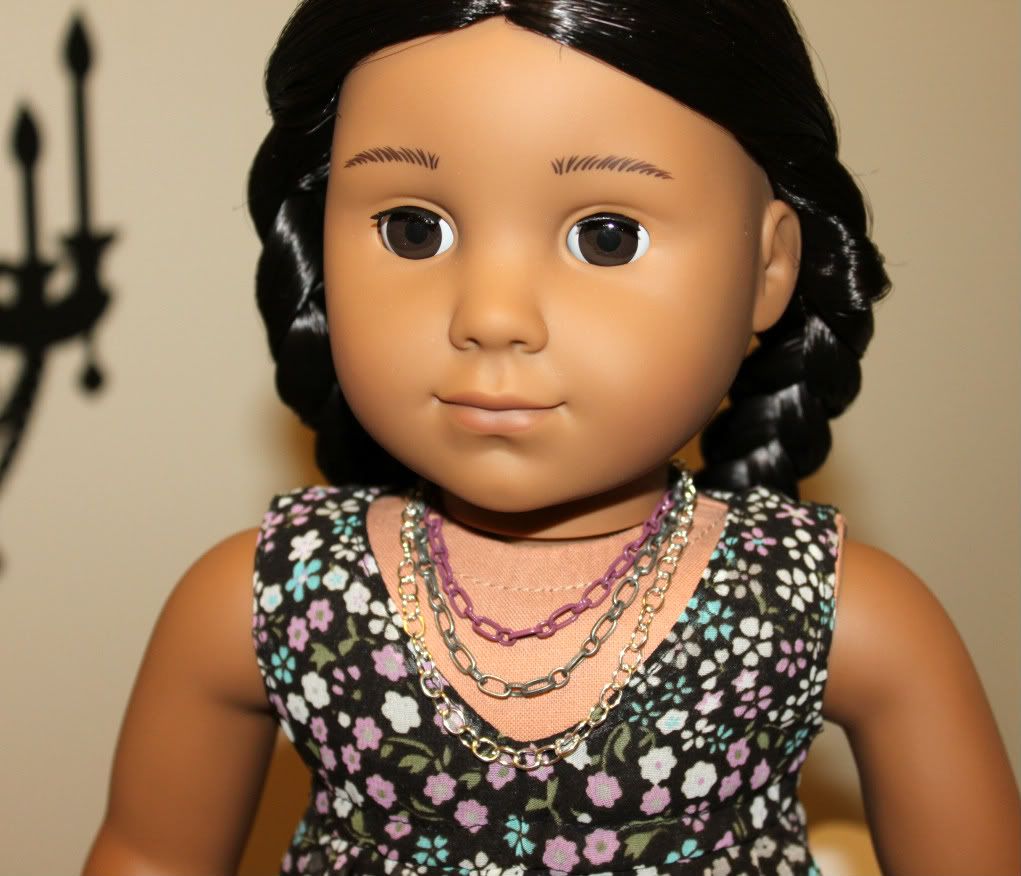
Kaya modeling it for us while wearing Liberty Jane's Salina dress 
from the Spring 2011 line....


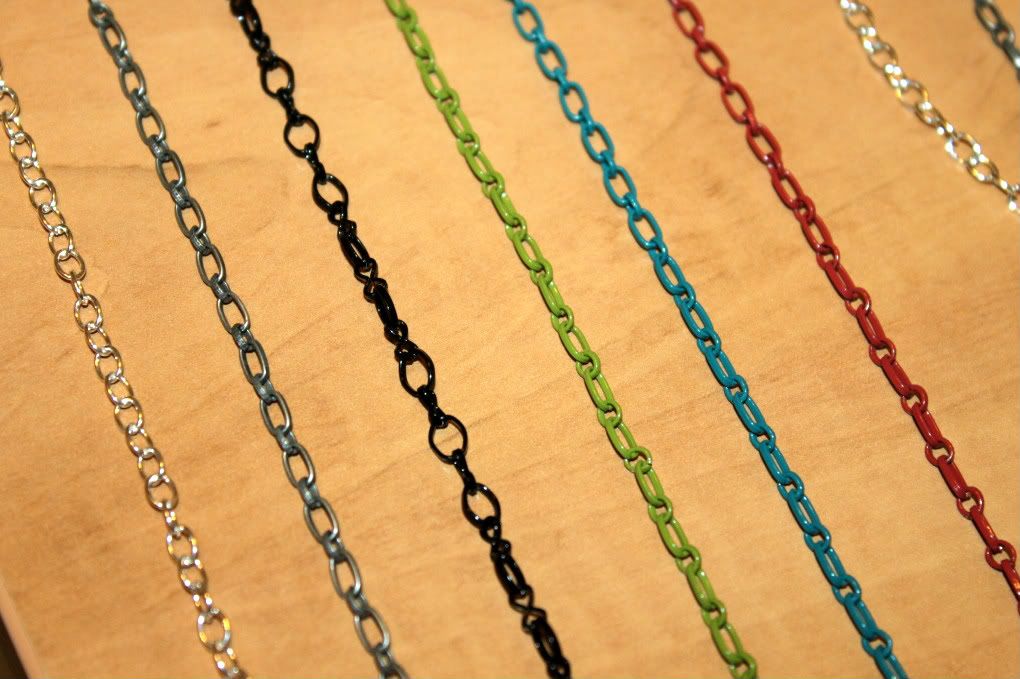
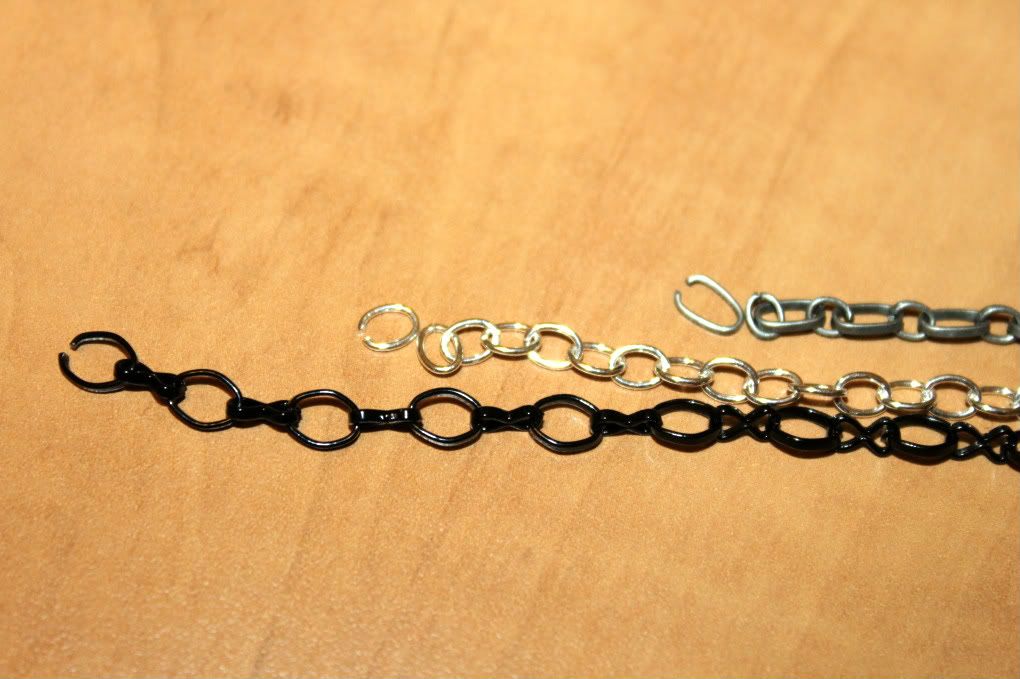
Next we wanted to try something much more colorful, so we laid out the various types of chains that we have to pick which three colors to put together....


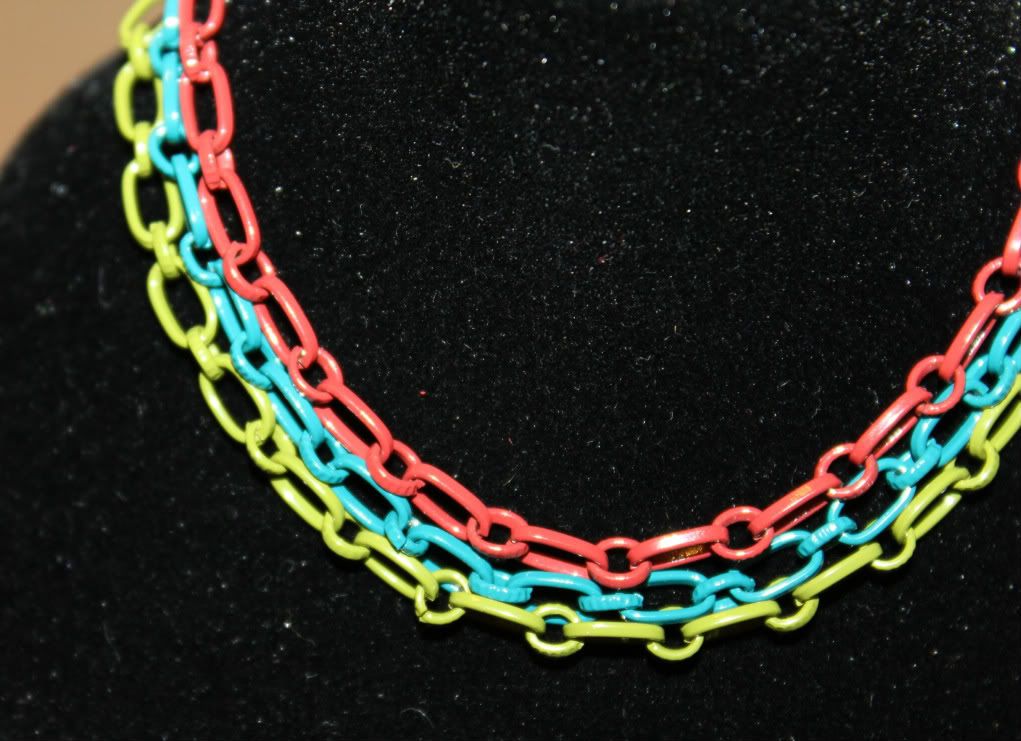
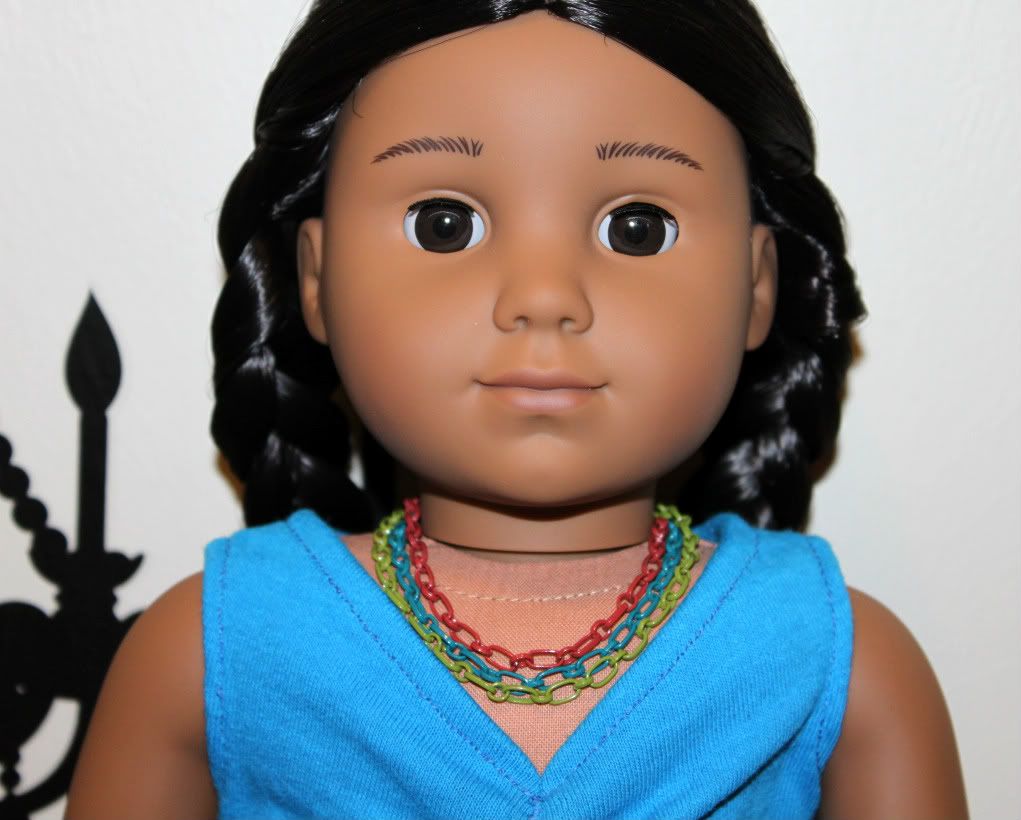
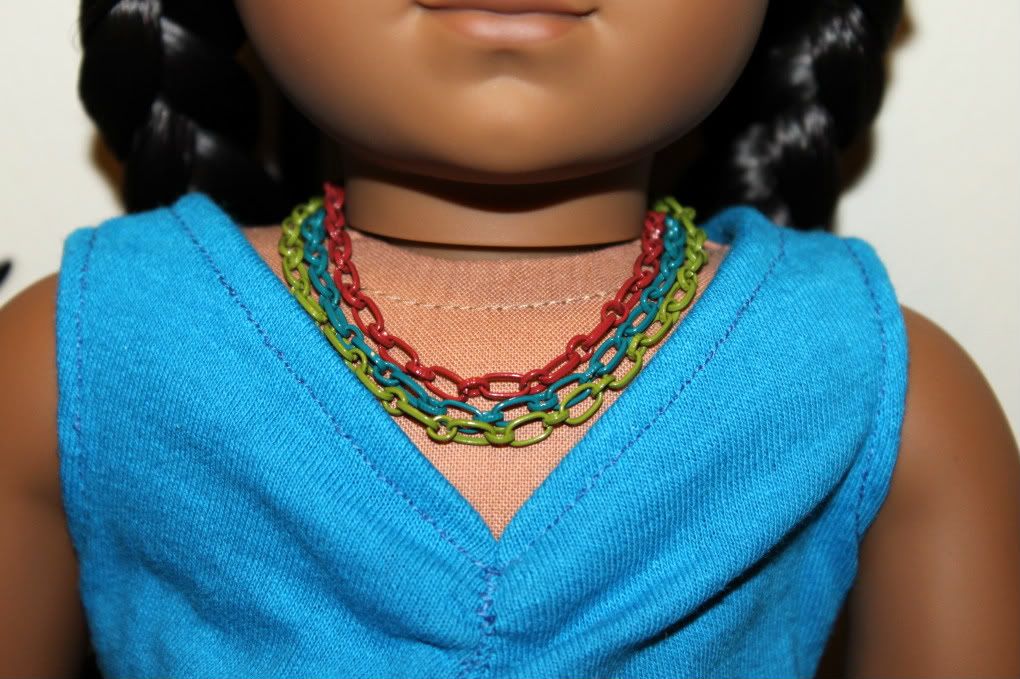
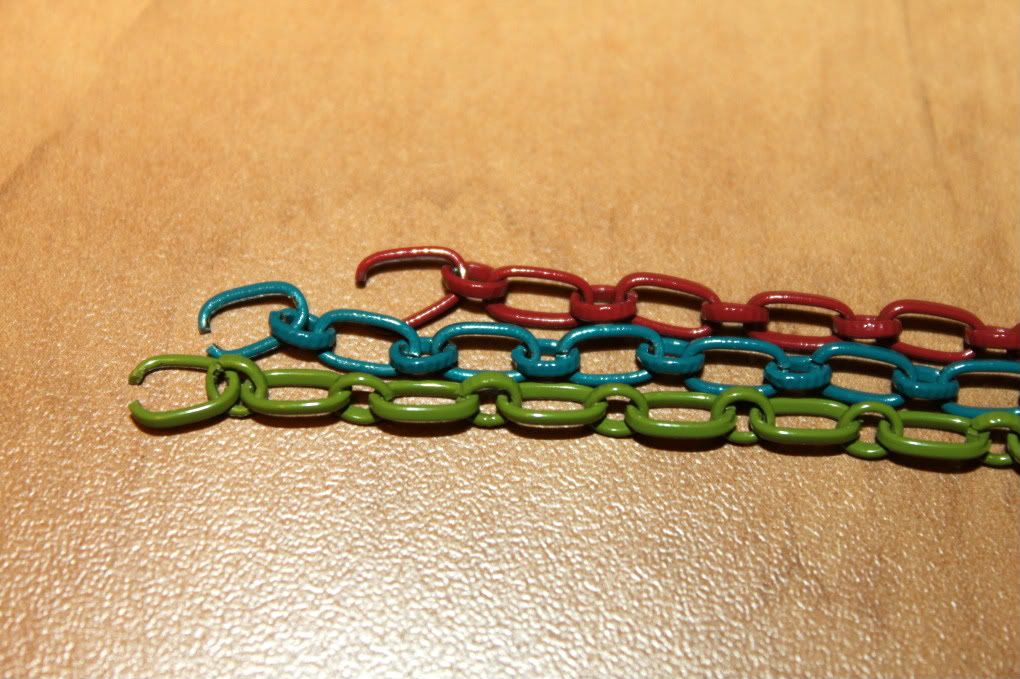
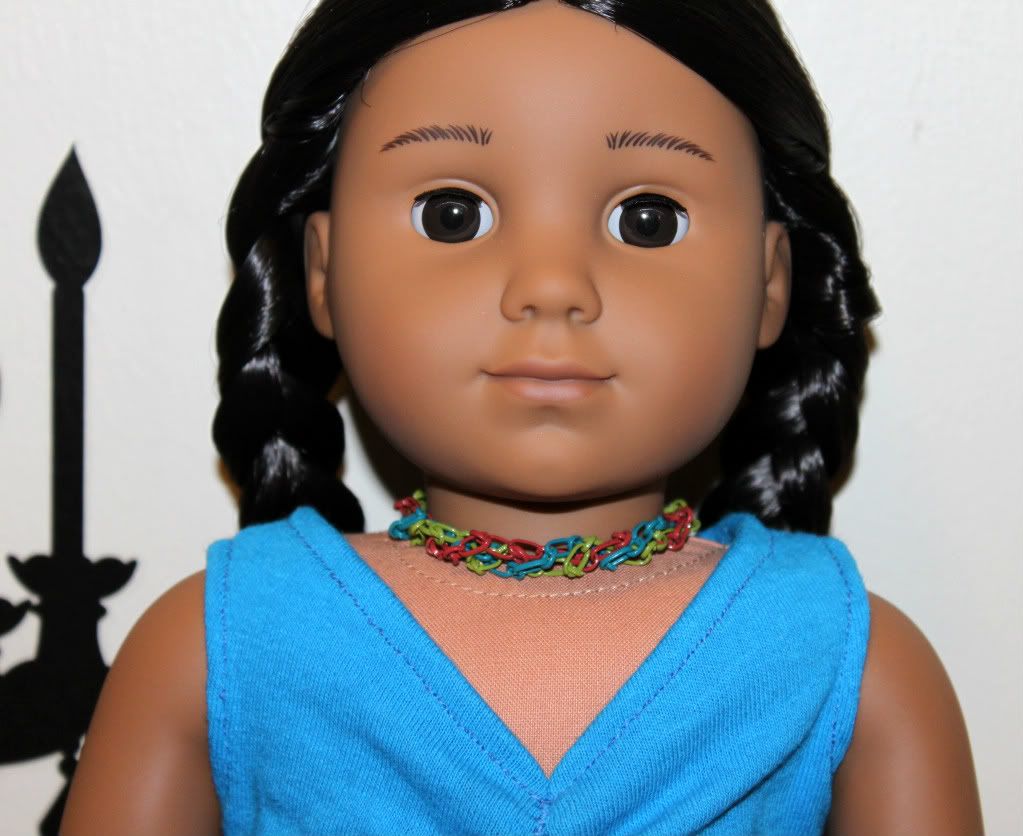
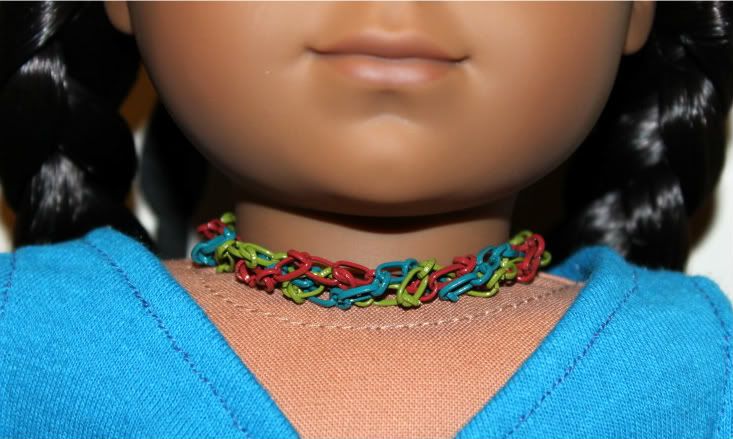
We chose red, blue, and green for second necklace. This time we made each chain just slightly longer than the previous one, so they would be nested, each chain side by side. See the pic below....


Kaya modeled it with a Maiden Flight Clothing ruched blue tank top...


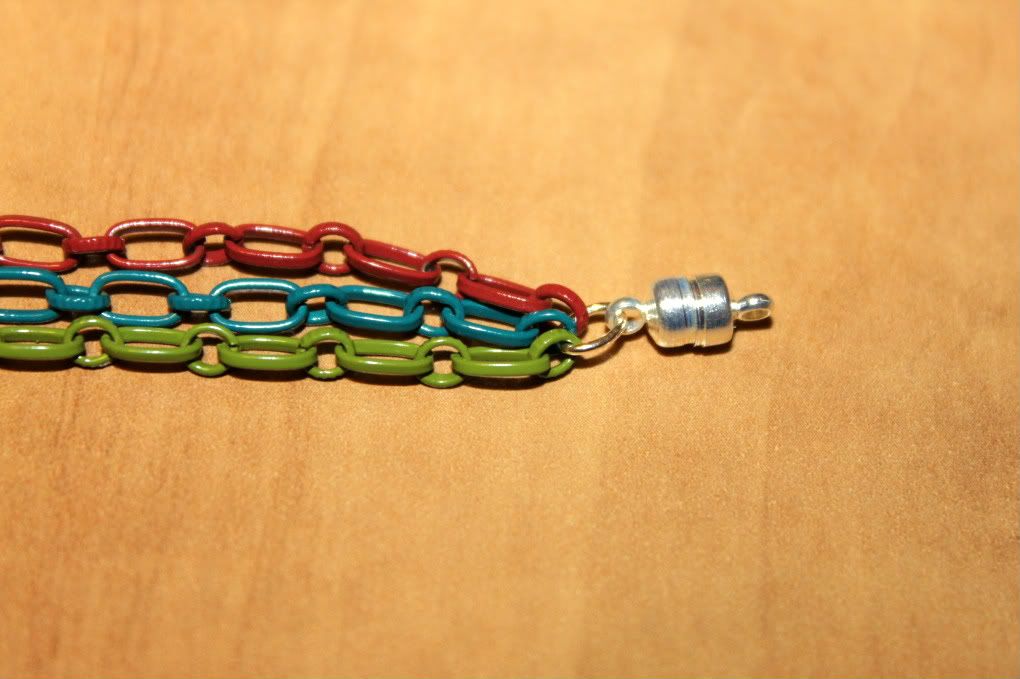
Here is our process to create this type of necklace: Take one magnetic closure and a standard silver link. Connect that link to the closure, and then connect your three chains (or more, or less, whatevs number you want on there) directly to that silver link.


Then you can measure the chains against each other by laying them out on a flat surface. You can add and remove links according to what length you want each chain to be. To create this colored necklace the chains were relatively close in length, one was just a little bit longer than the previous one.


Then we added a silver link to the other side of the magnetic closure and connected the three chains to that, finishing the necklace.

You can also twist this type of necklace to create a multi-color chain choker. All you do is open up the magnetic closure to put it on your doll, twist the necklace until it looks the way you want it to look, and put it on your doll. Kaya models this look for you below...


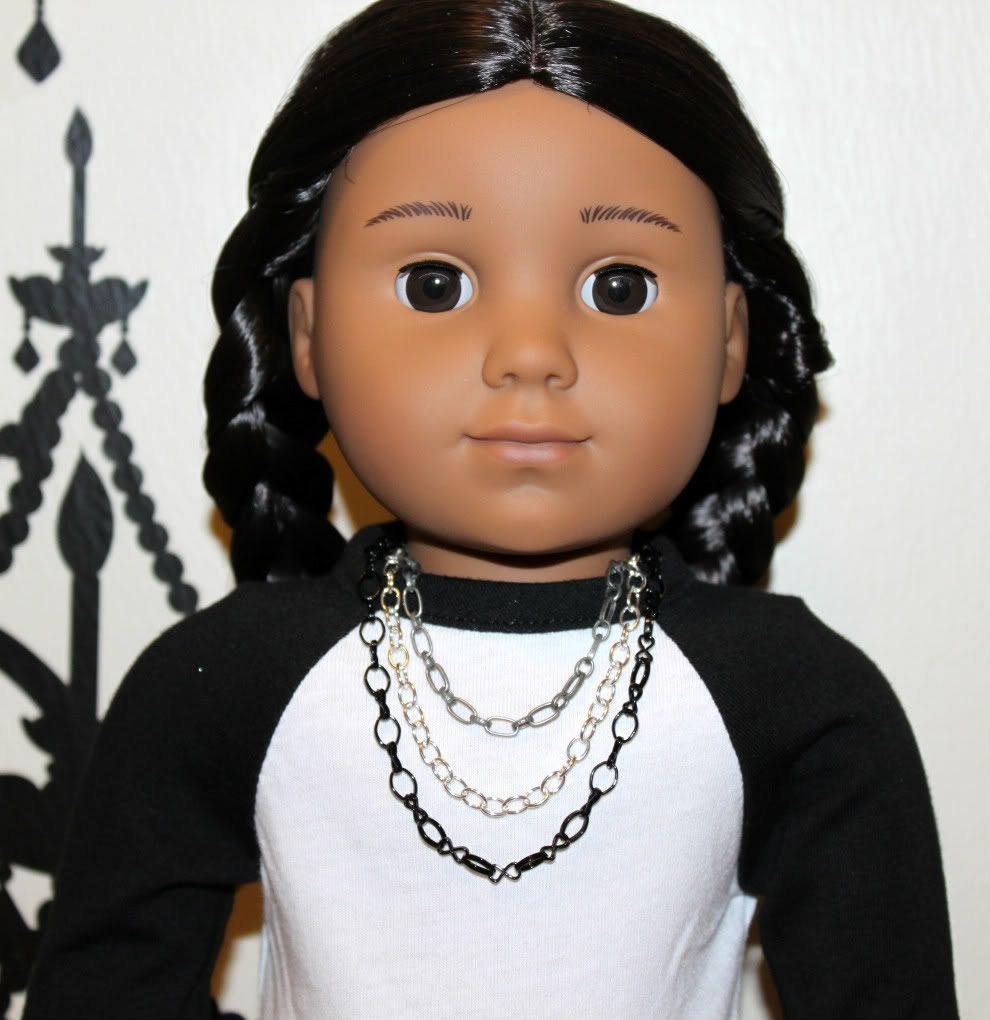
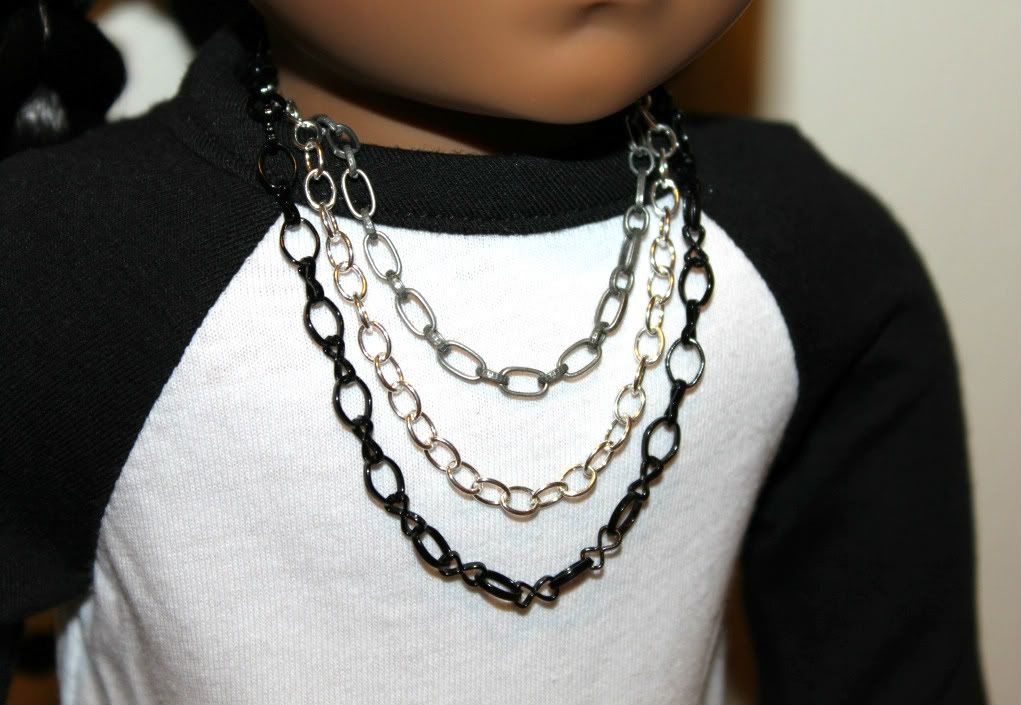
We wanted our third cascade necklace to be longer, so you can see how easy it is to create different looks just by adjusting the lengths of the chains. We used the dark grey, shiny silver, and black chains. Once again we connected the three ends to one silver link connected to the magnetic closure. Then we adjusted the length of the chains by adding on links as we saw fit. You can hold up the necklace to your doll to see if it is how you want it to look as you work.

For this necklace we made each chain about an inch longer than the previous one......


And here are shots of Kaya wearing it with a LJ shirt....


Let us know if you have any questions about how to make these types of necklaces!

Feel free to comment below!

We hope you enjoyed this post-- Stay tuned for more doll jewelry posts.  In the future, we will talk about adjusting a couple Forever21 necklaces we bought to fit dolls, and we will show you (most) of our collection of doll jewelry to give y'all ideas for your own projects. :-)

Thanks for visiting The Doll Wardrobe today!

Related Posts Plugin for WordPress, Blogger...