
We stopped in at Michael's to see what types of AG stuff they offer. Here is the website for AG-brand crafts: http://www.eksuccessbrands.com/licensedbrands/subbrand.htm?sbid=797 But it is fun to see them in person. The scrapbooking supplies and stickers look really nice, fyi.
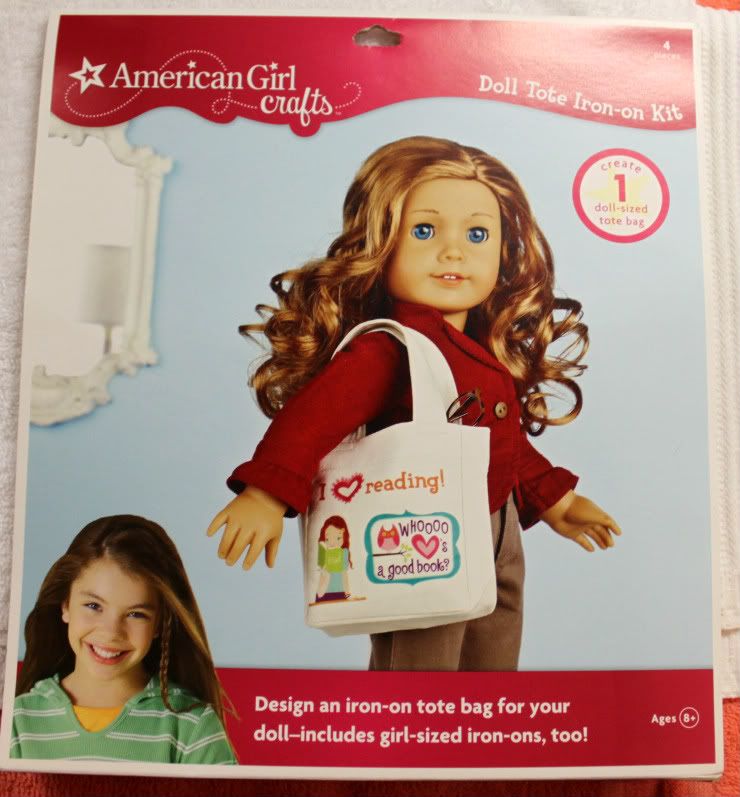
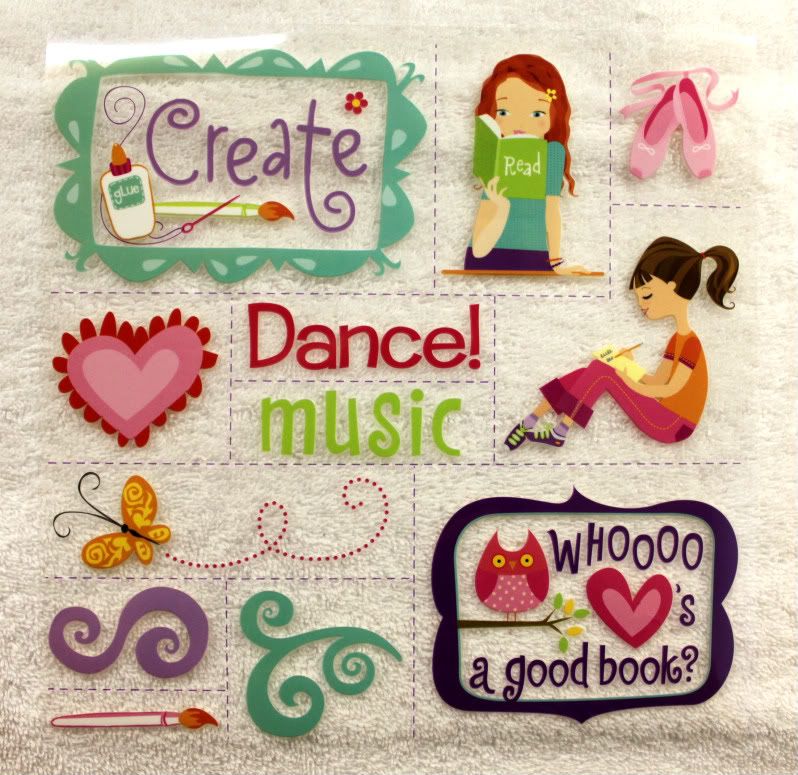
We wanted to try some of their iron-on projects, so we picked up the tote bag and apron packages. They ain't cheap. If you want them we recommend using those Michael's coupons everyone always talks about. Pics of the packages.... front and back....
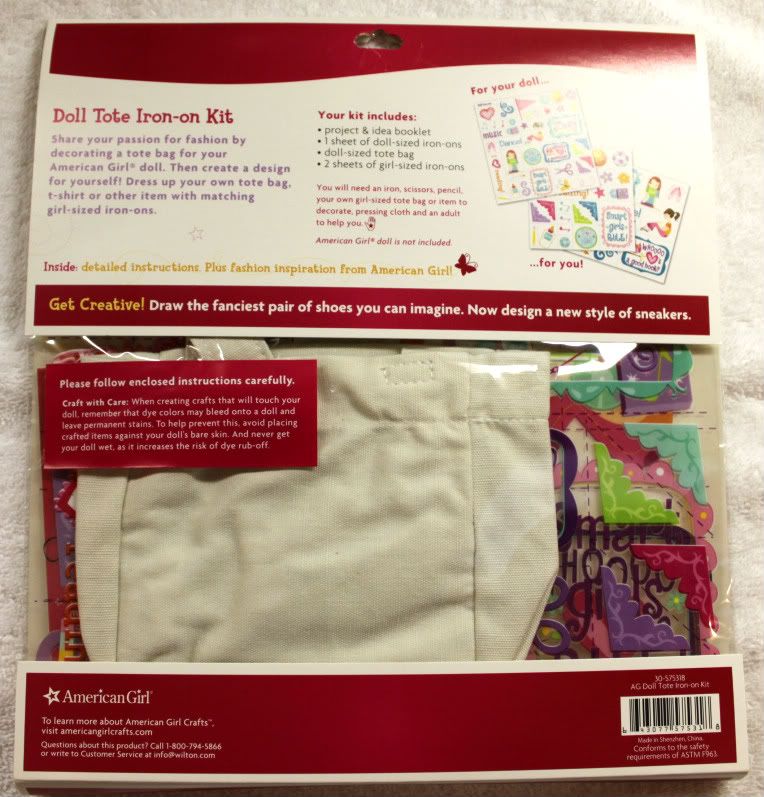


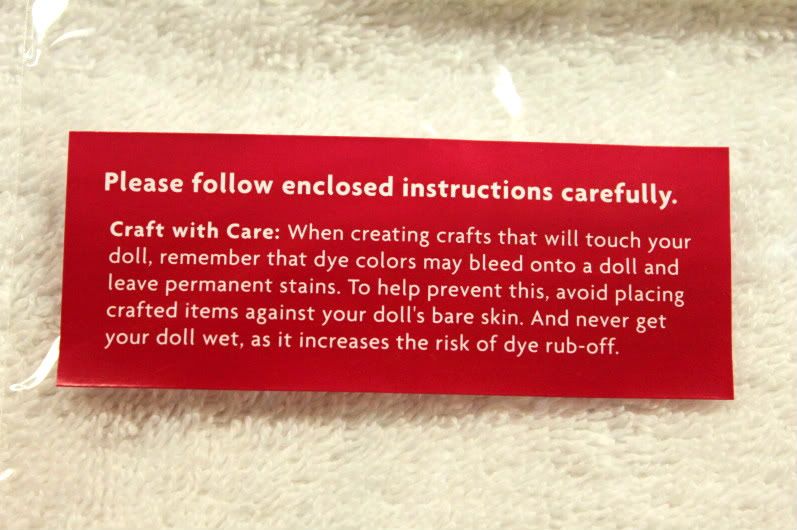
General warning about iron-ons, dolls, water, and staining...
The instruction booklet says to have an adult help you. Check.
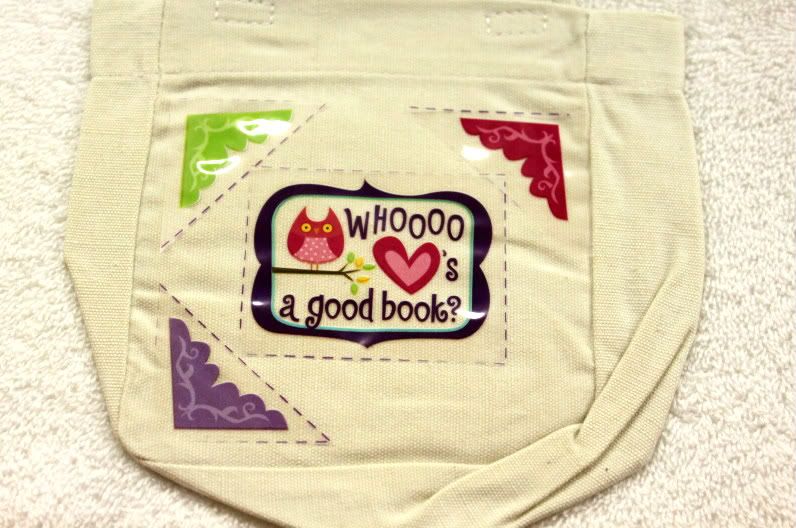
Step One: Arrange all the pieces plastic-side up onto the tote bag to be sure they fit.
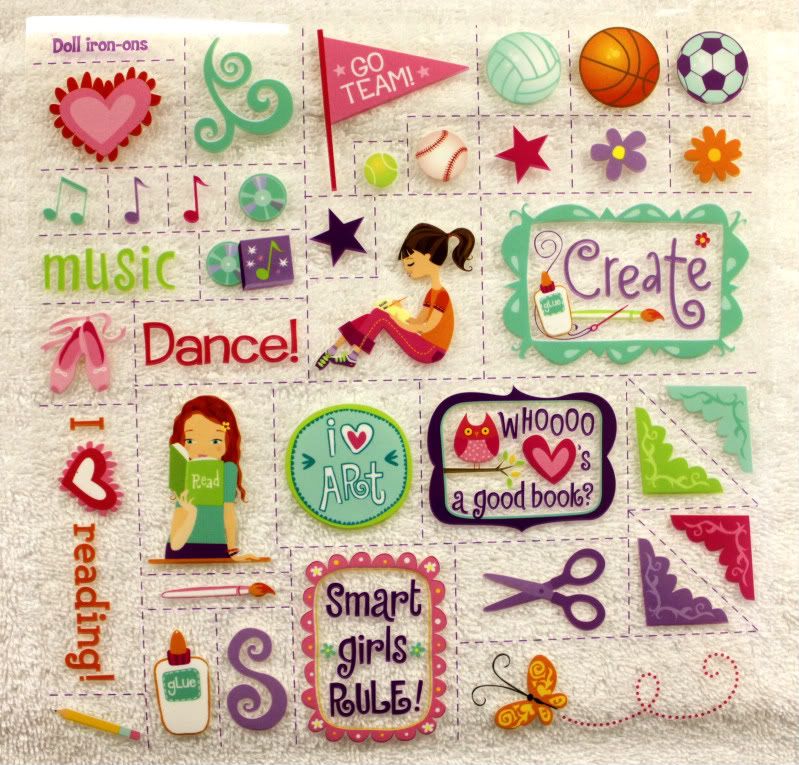
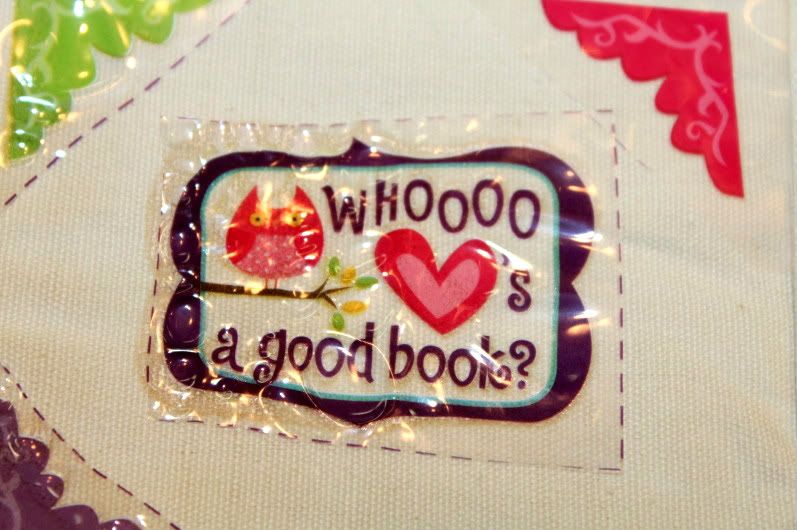
We wanted to put the owl in the center and then have four colored corners around him, but only 3 corners fit because of the bag shape. Our plan was to put the fourth corner on later.
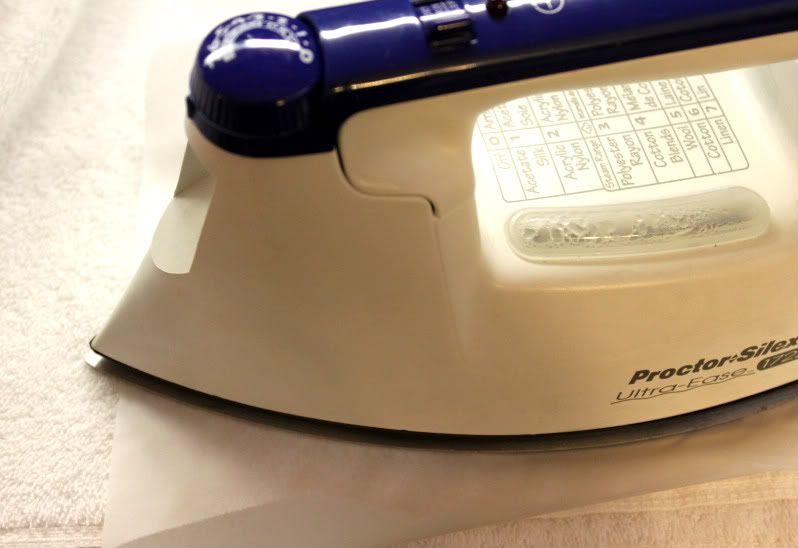
Step Two: Place a pressing cloth, like a tea towel, over the iron-on transfer.
Step Three: Use a dry, medium cotton setting. Do not steam. Firmly press iron atop cloth and across every part of iron-on transfer for 20 seconds. Do not move the iron in circular motions.
Step Four: Let fabric cool.
Step Five: Remove pressing cloth.
Step Six: Seal the edges of your design by ironing around each edge for 5 more seconds. (Iron over the plastic sheet. No pressing cloth necessary.)
Step Seven: Allow iron-on to cool completely.
Step Eight: Peel up one corner of the plastic to check for adhesion. If the transfer is still attached to the plastic, immediately replace the plastic and repeat steps 5-7.
So yeah, we did all that. But with baking paper instead of a tea towel. And the iron-ons didn't transfer to the tote bag. So we keep repeating steps 5-7. Nada. And we turned up the heat. Nada. We pressed more firmly. Nada. Iron-ons just did not want to be on that bag.
And then the iron-ons started to wrinkle up/melt from the heat. Which is obviously not what is supposed to happen.
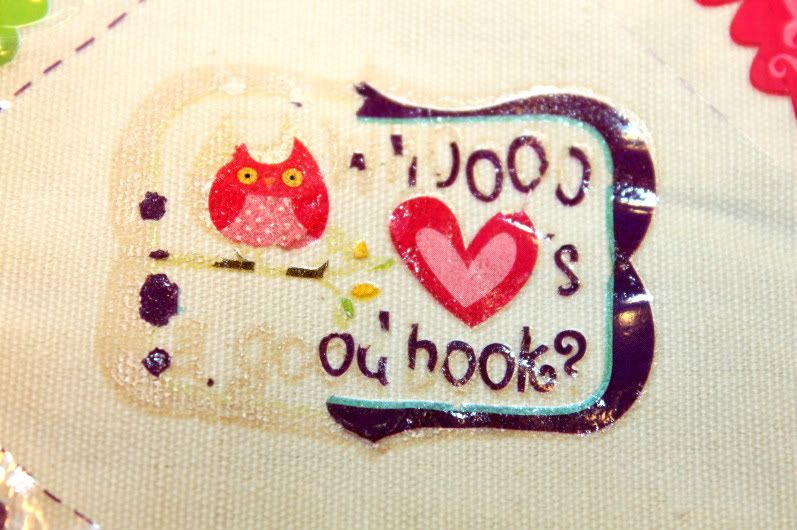
Anyways, epic failure. In the end, we're not sure if it was us doing something wrong or the instructions, or the iron-ons, or the tote bag or what. But from our one experience we weren't very successful with this AG craft. :-(
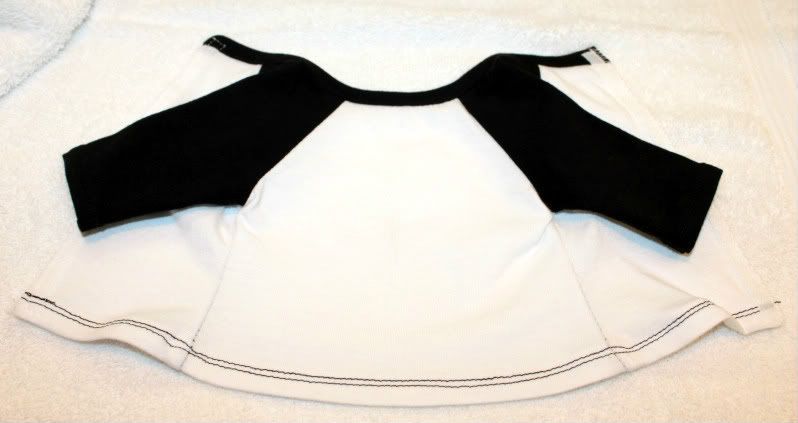
We were so disappointed with our tote bag disaster that Penny gave us a black and white baseball shirt from Liberty Jane and some 3-D iron-on embellishments to use on it. So that is Project Number Two for this post. And luckily it worked fine. Baseball shirt pic....
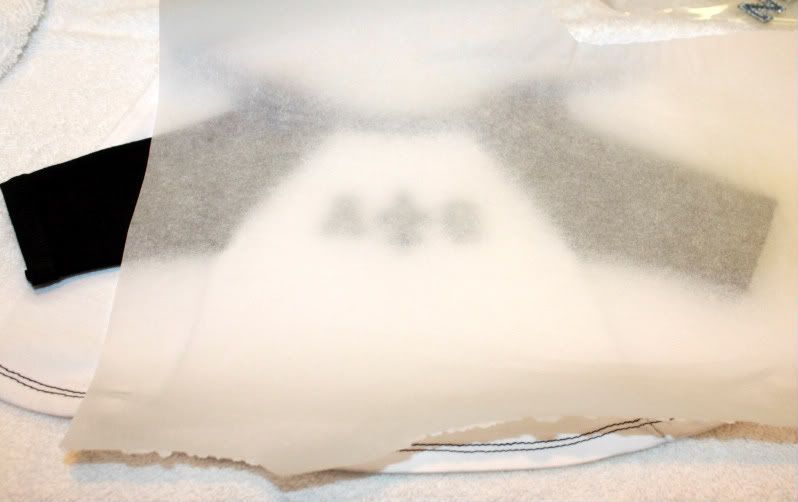
Same towel under the shirt as under the tote bag. Same baker's paper under the iron. Same iron.
Step One: Arrange iron-on design on the shirt.

Step Two: Place baker's paper down on project.
Step Three: Put the iron on cotton setting.
Step Four: Iron one side for 10 to 15 seconds, pressing down firmly.
Step Five: Flip shirt over, iron from the other side for 20-25 seconds.
Step Six: Let cool. Don't touch the metal bits. They're hot. Haha.
Step Seven: Test to see if the iron-on is adhered to the shirt.
Check. On all fronts. Iron-On project success!
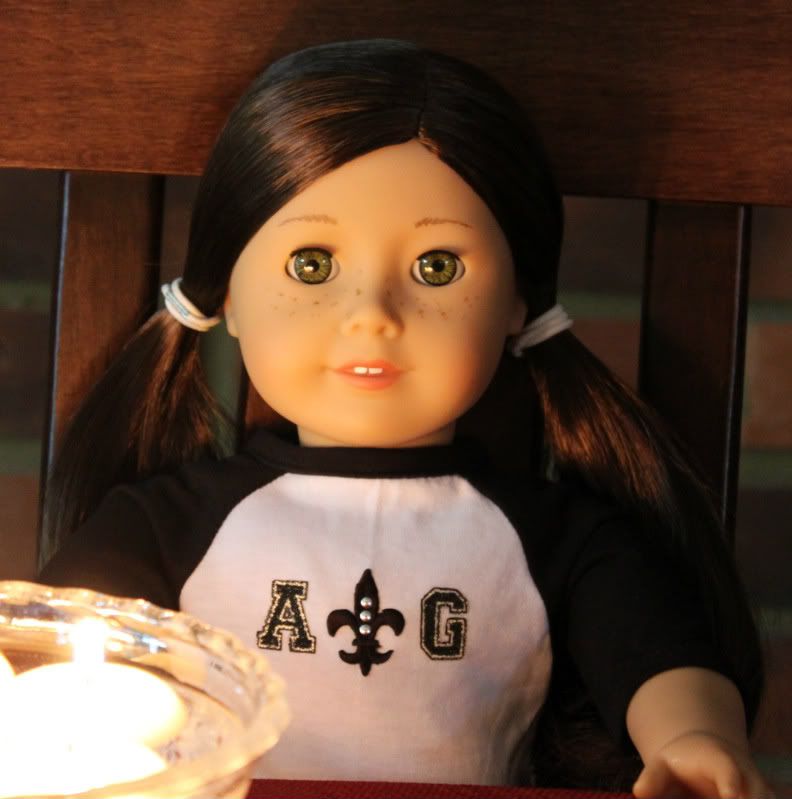
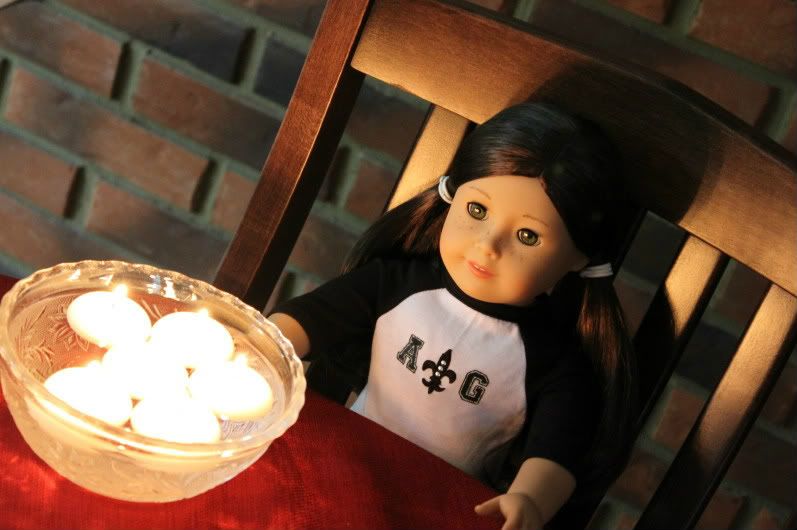
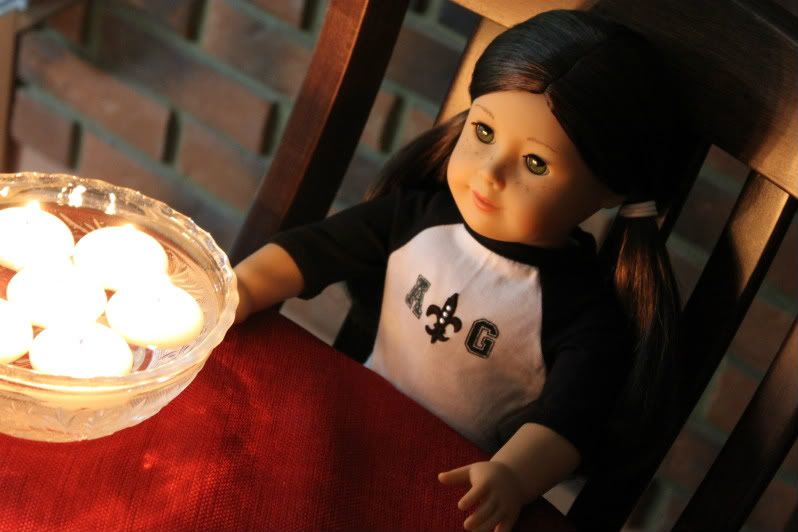
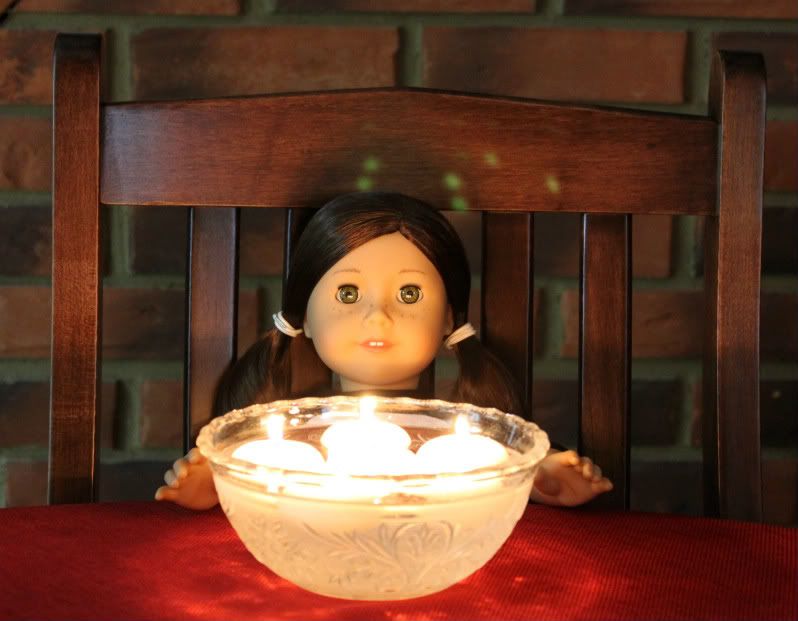
So Maple got this cool shirt with an A, a G, and a fleur-de-lis on it. And here she is modeling it below. She wanted to pose with the bowl of candles at the kitchen table for dramatic effect. We'll show the shirt in a normal, full-length setting as well, haha. So stay tuned! And of course, stay tuned for the apron attempt. ;-)

Thanks for visiting us today!
Let us know if you have any questions or comments. :-)
6 comments:
finally a post! i know its not summer time, but i miss all those posts u girls wrote.
Yeah, sorry for the lack of posts -- homework is getting in the way of bloggin' fun! Haha. ;-)
We did the apron craft and it turned out really cute. I need to pick up some plain doll tees so we can use up the leftover iron ons. Since it looks like rain all weekend, I may just have to do that tonight.
Good to know the apron project worked for you guys! Hopefully we won't screw that one up!
And yeah, they give you so many iron-ons, which is good considering the price, but then you have to spend more money to use the rest of them on tees, etc.
The pictures of Maple look like she's predicting the future with a glass ball. LOL!
Oh my gosh! I LOVE that shirt! :D
I have the tote bag kit, and the doll on the front inspired me to get THAT doll! :D So, I SERIOUSLY thank AG for that little "inspiration"! :) Also, Don't feel bad about failing at the tote bag. I think it's the iron ons, because I had some trouble with them, too. :)
~Miranda
Post a Comment